The number one question I get asked on my Instagram is “how do you take photos of yourself as a solo traveller?” The answer is about 90% of the photos you see on my Instagram or blog are taken by me. Since starting my social platforms a lot require ‘epic’ photos and I’ve picked up a few helpful tips and tricks as a self-taught photographer and solo traveller I wish I knew before starting my photography journey.
In this post, I’ll be sharing how to take pictures of yourself for Instagram or on your travels. This includes a step-by-step guide on how to take photos of yourself when travelling solo or alone at home.
Disclaimer: This post may contain affiliate links, which means I get a small commission if you make a purchase (at no extra cost to you). It’s one of the ways I can keep producing free resources and guides for my readers. Thank you for your support! Refer to the Disclosure Policy for more details.
Look for Inspiration
Before embarking on your destination it’s always helpful to research and plan what kind of pictures you want to take before your trip. I usually refer to multiple resources for looking up photo inspiration including Pinterest, Instagram, TikTok, and other blogs. For example, if I’m travelling to a certain location I’ll look up ‘Instagrammable places in (place)’ such as Instagrammable places in Melbourne‘ or photo spots in (destination). This is also a great way to see what previous travellers have taken in a certain spot where you can take inspiration from and plan what photos you want to take.
Don’t miss out on my full step-by-step guide to creating travel content in this post.

Invest in a Camera
There is no need to spend a huge fortune on photography gear however you should be prepared before you go. If you’re not satisfied with your current camera or want to get into photography, always do the proper research to upgrade ahead of time.
I’ve been a loyal user of the Sony camera, using the Sony 6400 as a beginner photographer. It’s Sony’s top-of-the-line entry-level camera with stunning photo quality and versatility for all your solo travel photography needs. Its body only weighs 359g, which is handy since you have to carry all your own items while travelling solo. The camera also features a WiFi and Bluetooth connection which allows you to connect your camera to your phone and remote controls. Lastly, the camera has an interval timer feature which is helpful when taking all your own solo travel photos.
Here are some additional helpful tips for photography gear on your travels. If you are investing in photography gear always make sure to get travel insurance. Don’t make the mistake of learning the hard way whether it’s losing your belongings or a cancelled flight. Anything really can happen so it’s important to have travel insurance to cover the cost of your valuables. Also, make sure you pack all your valuables in your carry-on to avoid damage or theft.
Steady Tripod
A steady tripod is your best friend to take your own photos as a solo traveller. Originally I used to work with the affordable and compact TYCKA tripod, which only weighs 1.3kg and has a maximum height of 142cm (56 inches). It’s a great tripod if you’re shooting with a compact camera. However, if you need something more steadier and lighter you’ll love the Manfrotto Befree Advanced Tripod. It also features quick-release plates, which means you don’t have to screw and change the camera every time you want to mount it. This means you can work faster to get those photos!
If you don’t have a camera you can also use a tripod with your phone and set up a self-timer. It’s also easier if you have a phone tripod with a Bluetooth remote. If you’re not ready to invest in a tripod you can also just prop your phone against any study item including a water bottle, or your bag, or even use your surroundings like a wall. Don’t be afraid to get creative. You might get a few weird looks but when are you ever gonna see them again?
GorillaPod
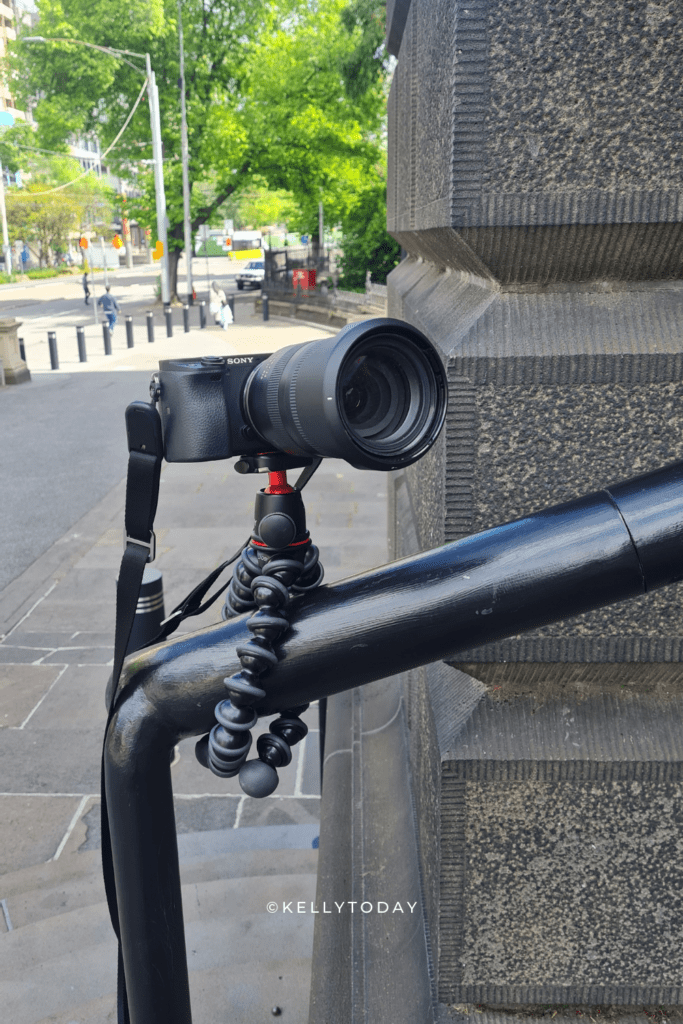
If carrying a tripod is too daunting in terms of space and weight then opt for a smaller and lighter photography accessory. GorillaPods are compact and lightweight and are less obvious when you’re taking photos of yourself in public. One of the great advantages of GorillaPods is they are also very flexible by manipulating the legs to any position or fastening them around tree branches, railings, really anything! I personally use the Joby GorillaPod for my solo travels. An important tip, if you’re looking to invest in a GorillaPod, it is important to check if it will be compatible with your camera in terms of supporting the weight. Joby for example has GorillaPod tripods for a range of camera gears including a mini tripod or tripods which support camera gear weighing 3kg to 5kg.
Interval Timer
One of the best ways of getting photos of yourself is setting up your tripod, mounting your camera or phone in the position you want it, and setting it on a timer to take photos. Most cameras will have self-timer modes including Sony which has ‘Interval Shooting’ mode. Once this feature is turned on, you push the shutter button and your camera starts to take photos within the selected interval time.
A helpful tip is to study your camera manual thoroughly or to experiment with the timer modes available before your travels. The worst thing is to show up at a photo location all set to go and then struggle with your camera settings.
To best set up your camera to take photos of yourself you’ll want to set it up in continuous mode. This feature will set up your camera to take photos for you, which means you don’t have to keep running back and forth to start the timer each time. I usually set my camera to take 50 photos with an interval of 1 or 2 seconds. This way, I can experiment with different movements and poses with enough time between every shot.
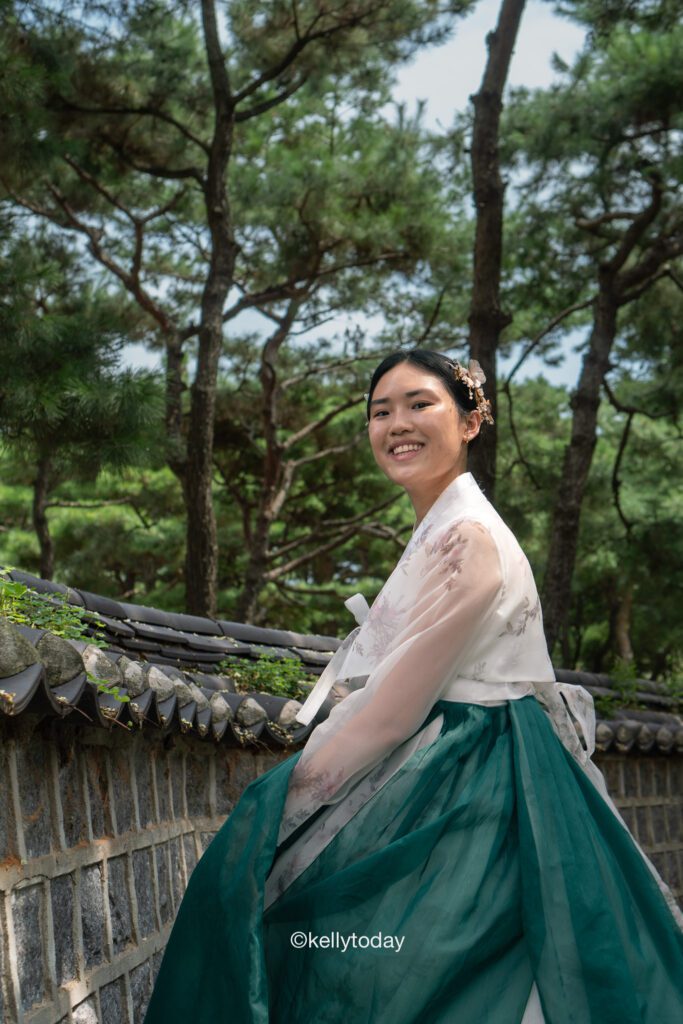
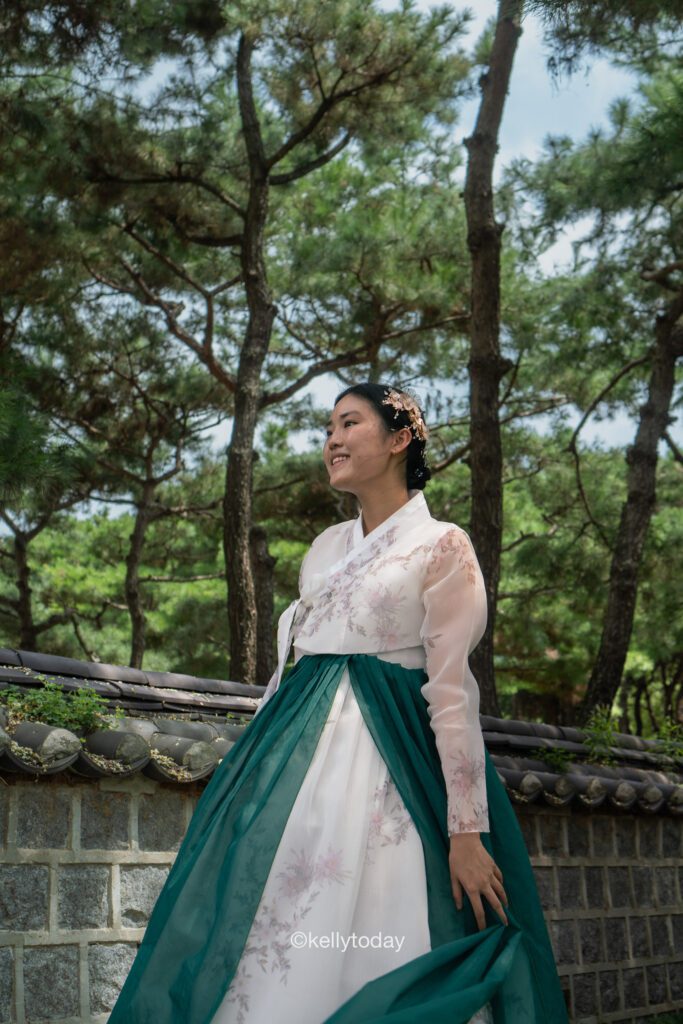
Self Timer – Remote Control
An alternative way of taking your own photos is by using a remote control shutter that works with your camera. As a Sony camera user, I use this remote control which allows me to control my camera’s shutter with different options including instantly, a two-second delay and hitting the record button. I usually put it on a self-timer for 10 seconds and activate the interval timer. This allows me to get into position first, then press the button on the remote control and wait till the camera starts taking photos. If you’re looking to invest in a remote control for your camera always make sure it is compatible with your camera model. For example, if you have a Canon you need to get a Canon Remote shutter and for Sony and Sony remote control.
Bluetooth or WiFi Connection
Most of the latest cameras also feature Bluetooth or WiFi connections. Sony has its own app called Imaging Edge Mobile which allows you to transfer your photos from your camera to your phone as well as take photos remotely with your camera using your phone or a tablet. Simply connect the camera with the app, position yourself in the camera frame, activate the self-timer continuous mode, focus the camera on you and press the button on your phone. Usually, you will have about 10 seconds to hide your phone and then your camera will take your photos.
The advantage of using this method is that you’re able to see where you are in the shot. However, this challenge can be overcome by simply focusing the camera on the spot where you’ll be standing.
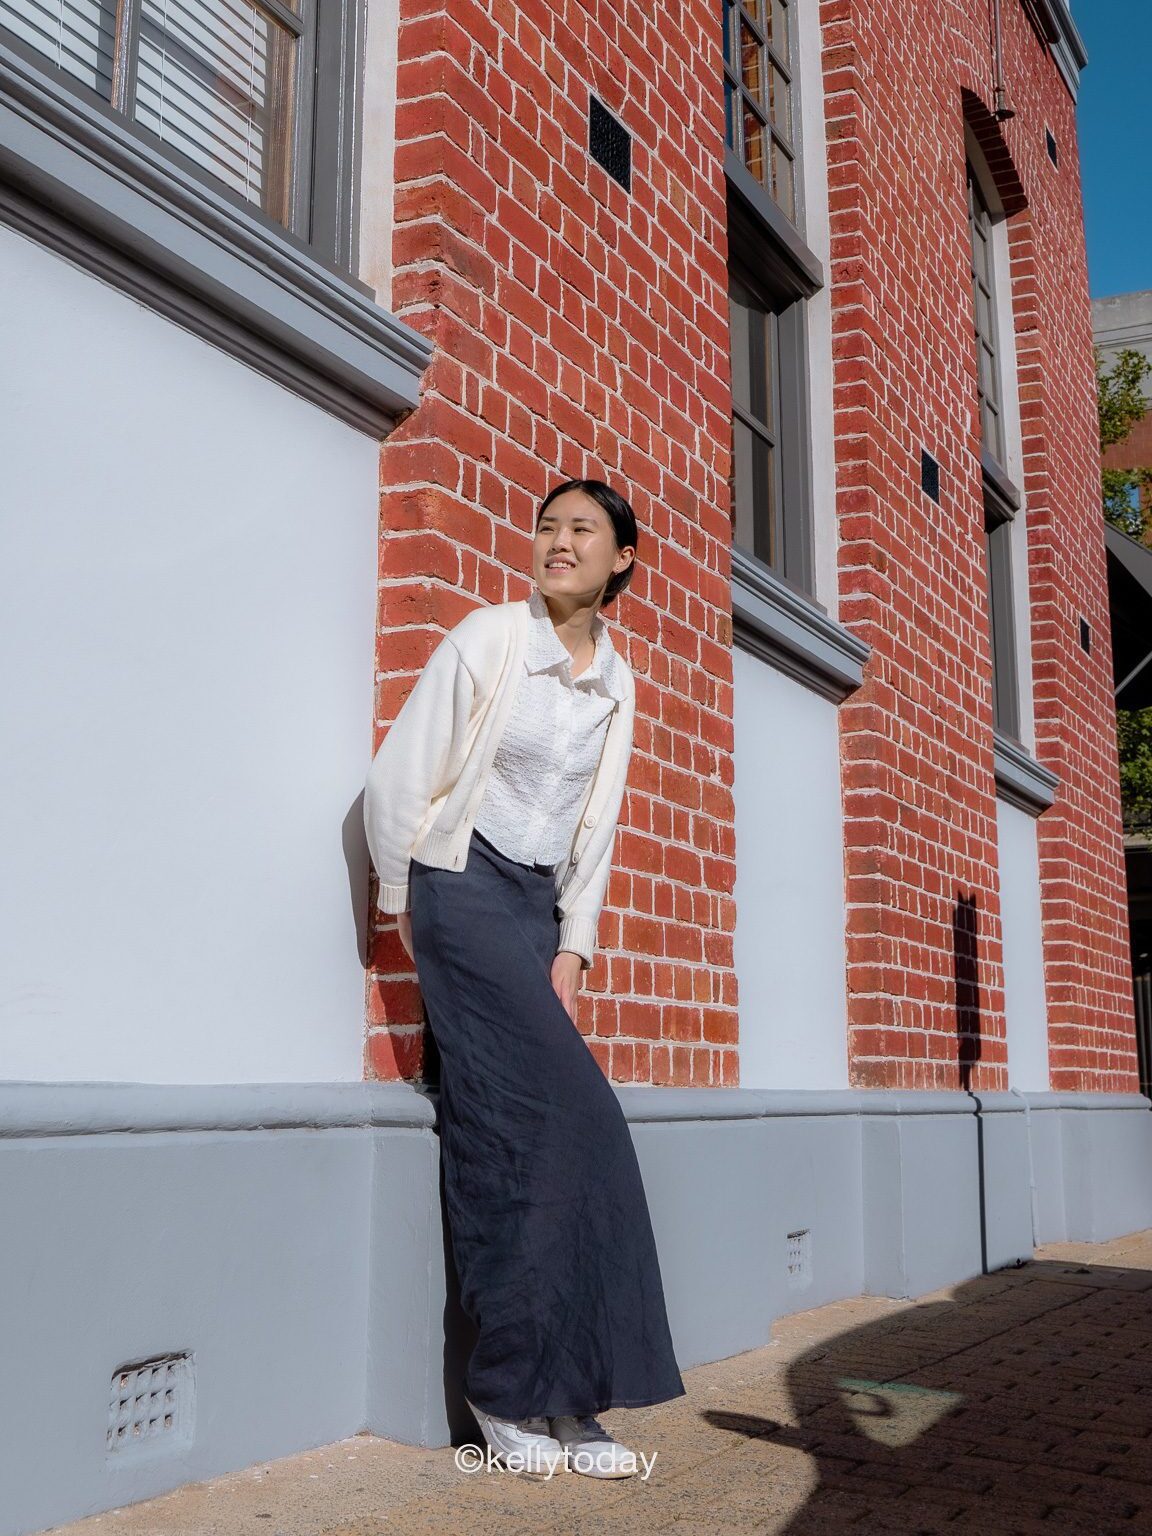
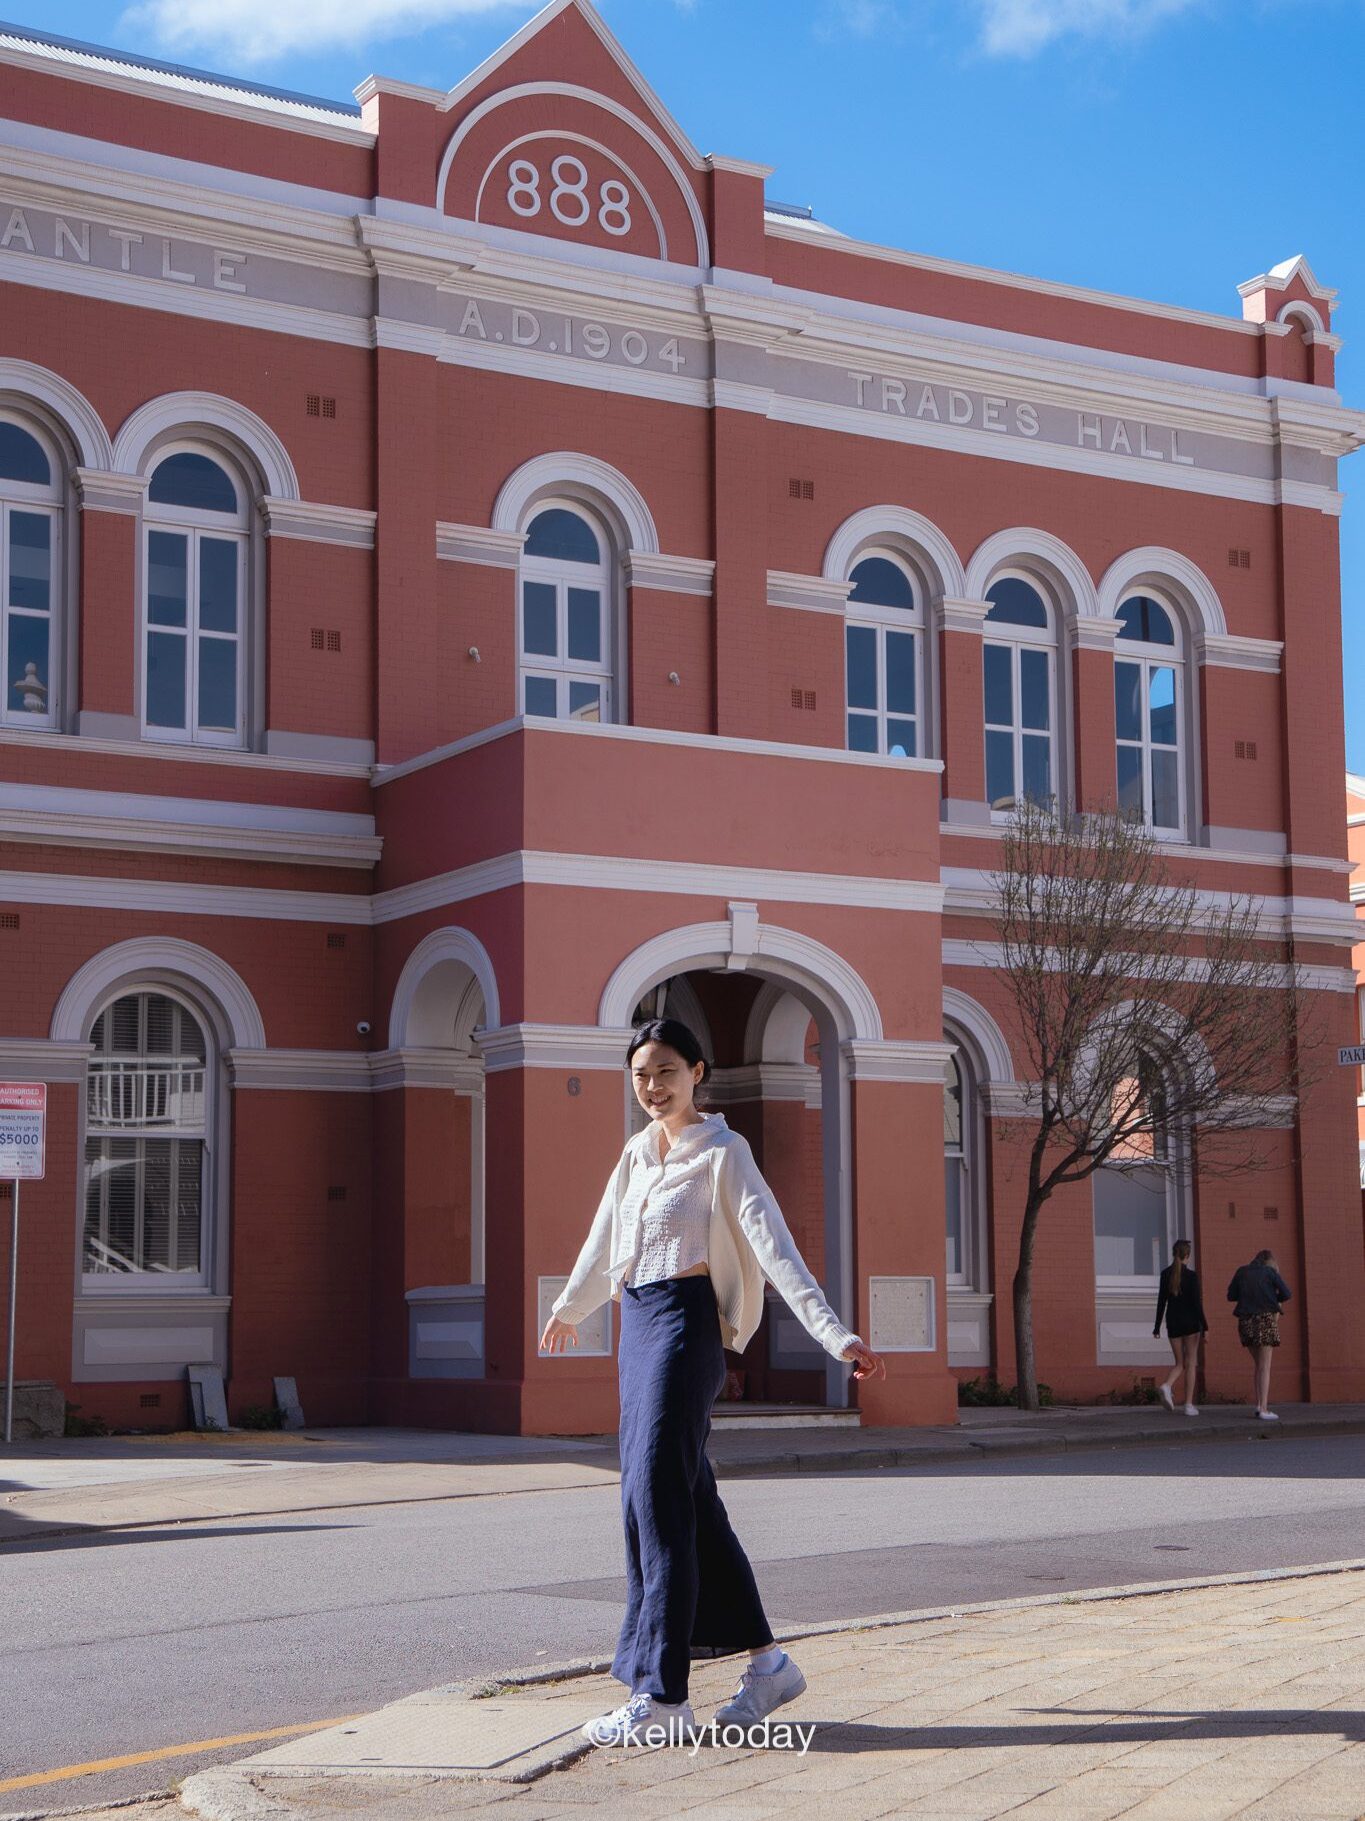
Versatile Lenses
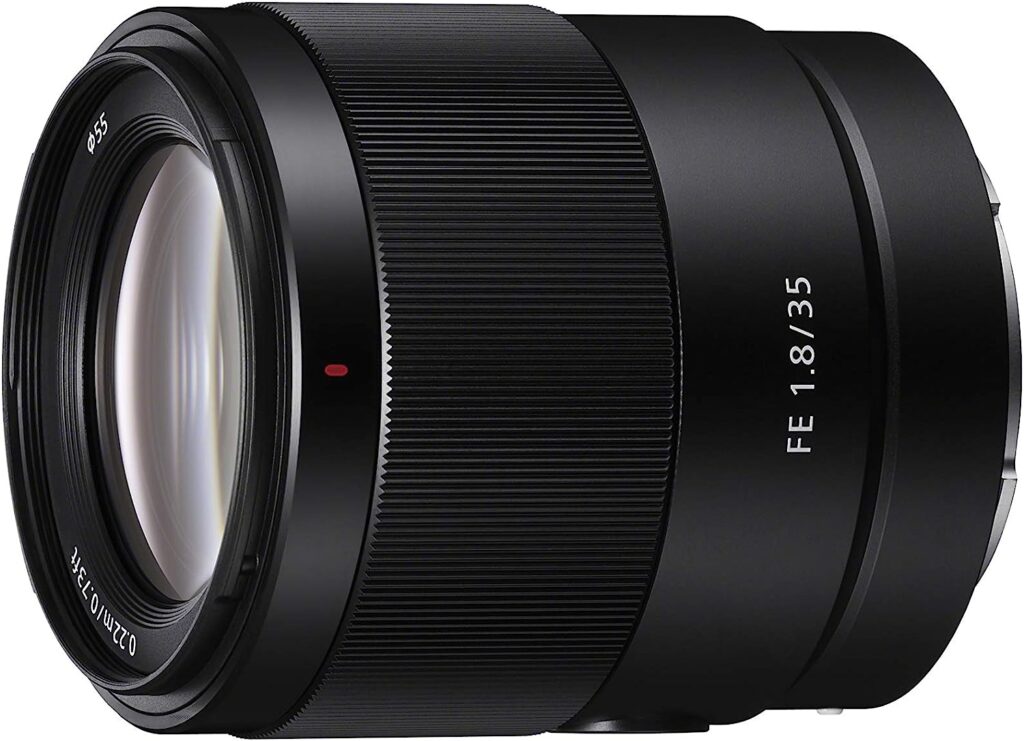
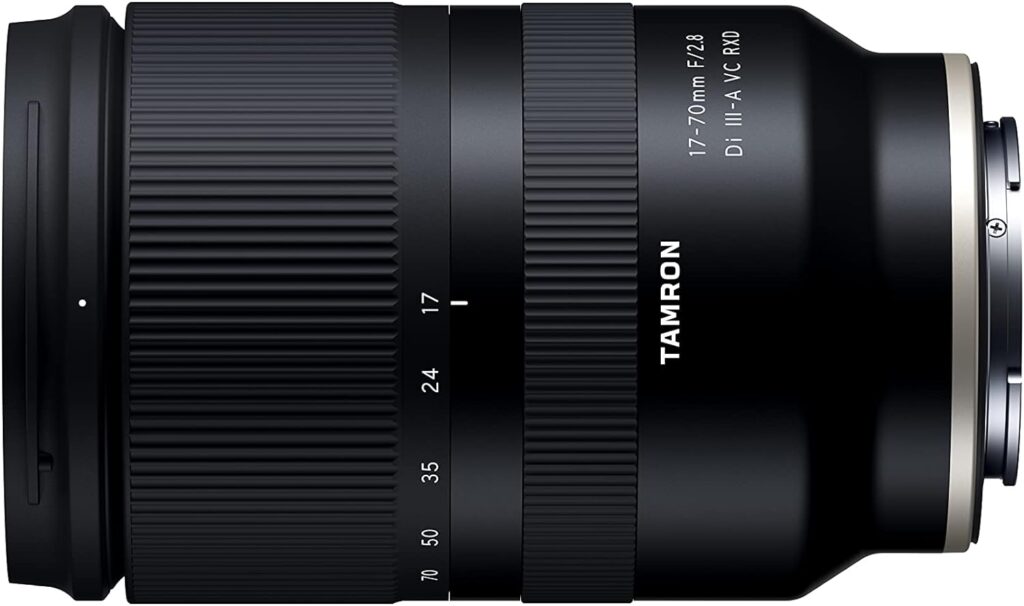
If you’re traveling solo you don’t want your bags to be heavy. Whether you’re exploring around the city or hiking with a backpack it takes a toll on your back and shoulders. As a solo traveller, I only use two lenses; Sony FE 35mm and Tamron 17-70mm. These camera lenses are quite affordable and versatile in a range of photography situations. With the zoom lens, you have a reach of 70mm and you can also take wide-angle photos of yourself in landscapes or buildings.
If you’re just starting photography and don’t have the budget for a camera and/or camera lens, don’t worry! Take advantage of the different camera angles on your phone including the wide-angle. The great thing about a wide-angle lens (~12 to 17mm) is that it allows you to take unique point-of-view and action shows that you won’t be able to get via regular angles. Wide angles are also the best at capturing those grand architectural background shots.
Drone
A drone is also a perfect solo travel companion to get self-portraits. I recommend the lightweight and compact DJI Mavic Mini 3 to take on your trips. It takes a bit of a learning curve to use a drone but once you get the hang of it it’s easy to take those photos. Simply connect it to your smartphone with the DJI Fly app, experiment with the framing and then take the photos. If you’re just starting out with a drone always remember to look up the local drone legislation in the area you’re flying.
Get Creative with a GoPro Camera
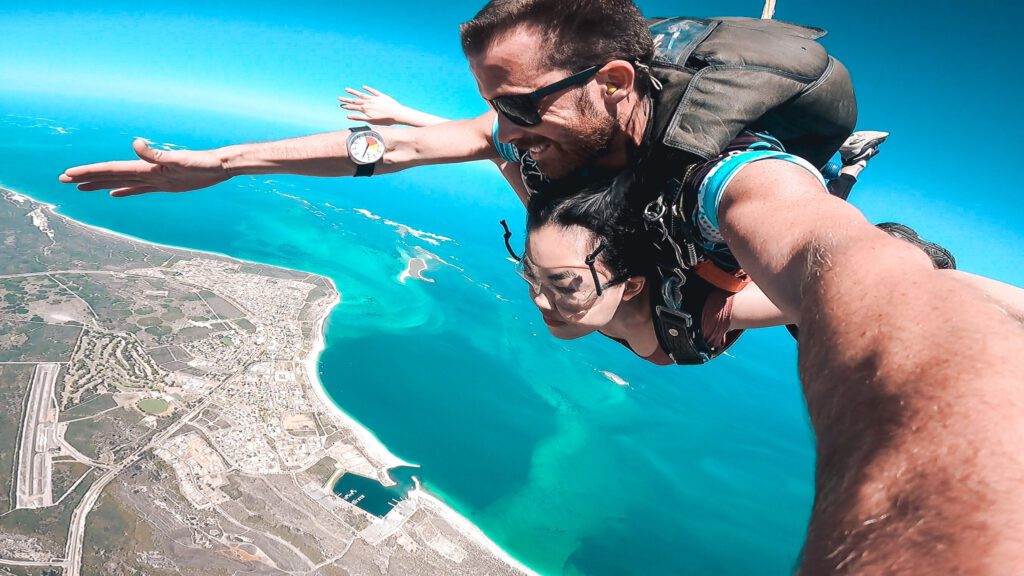
There are numerous travel situations where you aren’t able to use a camera or a smartphone on your travels including skydiving, snorkelling, ziplining, the list goes on. A GoPro camera is perfect for solo travellers getting photos of themselves and it’s also compact and lightweight.
One of the great advantages of a GoPro is that you can utilise the wide angle in a time-lapse mode and burst mode for photos or videos. Burst mode is a camera setting on GoPro that allows you to shoot hands-free, similar to a self-timer but with more control over how many photos and how often they will be taken. For example, you can set it to 1/5 which will take 1 photo every 5 seconds. This camera mode is helpful for capturing action shots of yourself like jumping and for water sports like snorkelling or swimming. If you’re looking to invest in a GoPro camera I also highly recommend getting a selfie stick to help with getting those photos of yourself.
Ask a Stranger
As a last resort if you feel a bit uncomfortable setting up your tripod or you’re visiting a spot where it’s too crowded asking a person to take your photos is another option. Whilst it might feel awkward just remember that it will only take a few seconds of a stranger’s day to get photo memories that will last a lifetime. Asking a stranger to take your photo is also a great way to start a conversation and make new friends in the process.
How to get strangers to take photos of you
Here are some tips for asking a stranger to take candid photos of you while you’re travelling solo.
- Choose wisely – Make sure to ask a person who will know how to use a camera. If you can’t find anyone with a camera generally it’s always a great option to ask someone younger because they’ll have a better grasp of technology. Alternatively, you can ask a stranger to take your photos on your smartphone.
- Show them the shot – Don’t be afraid to hold out the camera and position the framing for the photo you want. You can also let them know where you’ll be standing in the photo so they know what photos you’re after. Or you can take it a step further by offering to take a photo of them for reference of the photo you’d like. This is also a great way where both of you can walk away with beautiful photos.
- Take multiple photos – Ask the person politely to take multiple shots and change positions as they take the photos.
- Chat and be thankful! – The chances are if you make a good impression on someone they’re more likely to work harder when they do you a favour. It doesn’t hurt to get to know the person, thank them for taking the photo and of course offer to take a photo for them.
Hire a Local Photographer
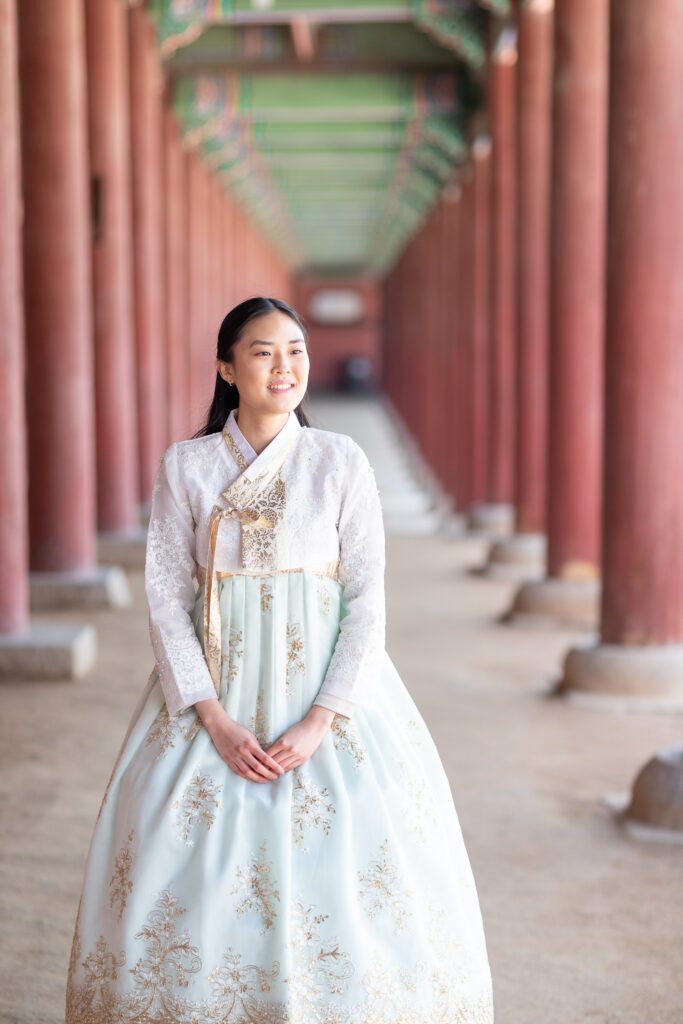
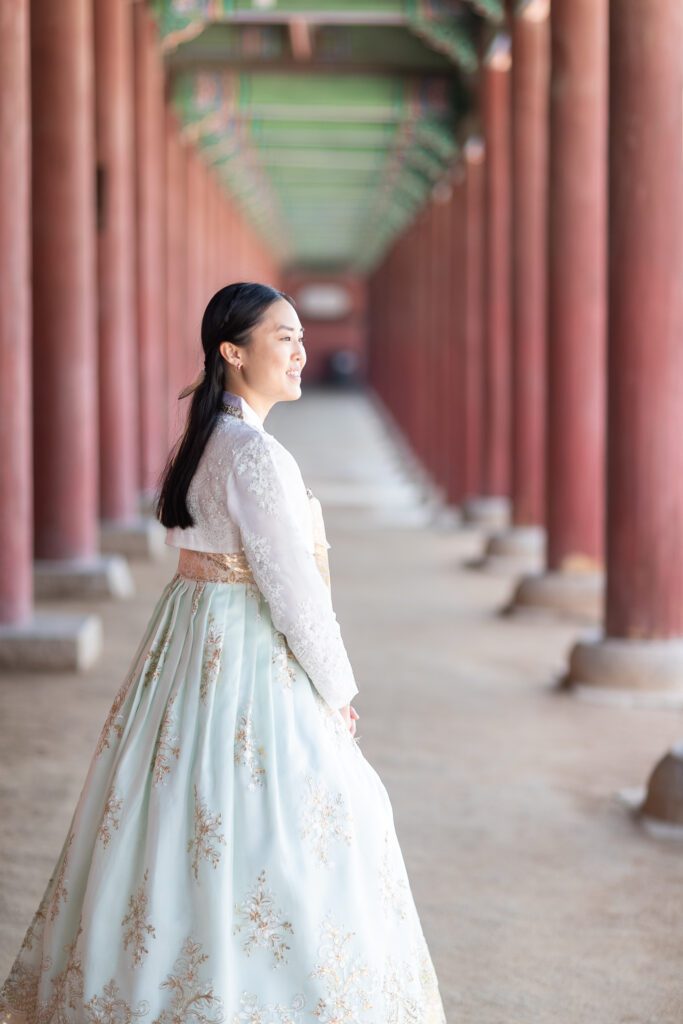
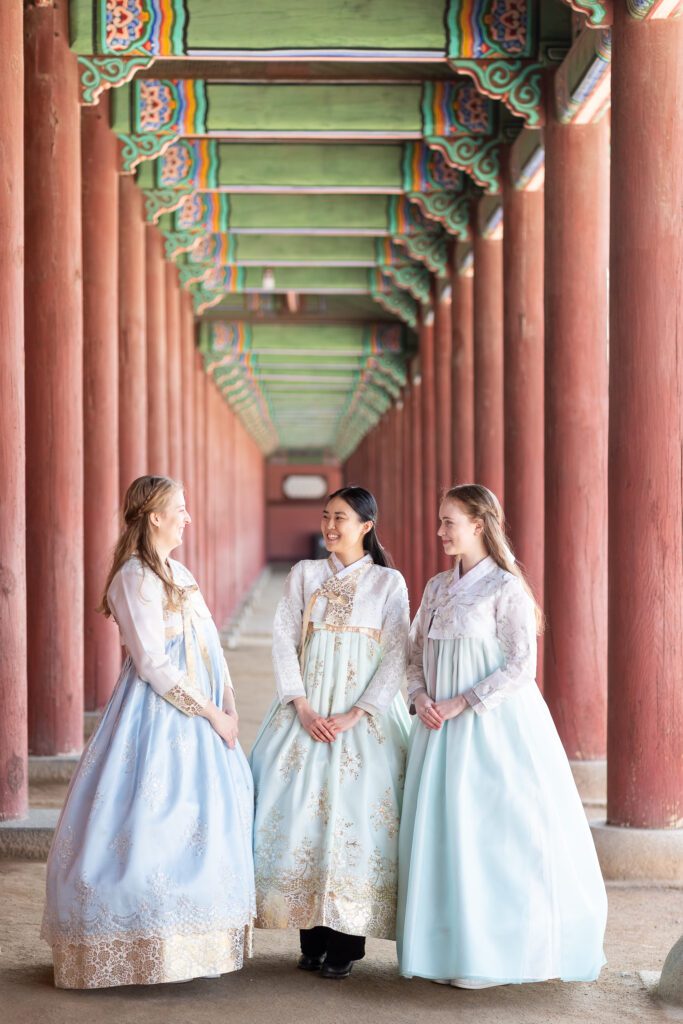
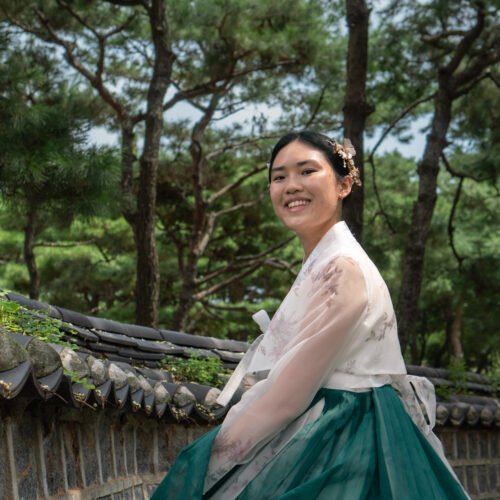
If you want the best photos from your trip consider hiring a local professional photographer at your travel destination. Not only is it the most convenient way of getting those gorgeous photos but you’ll also be getting local recommendations on the place you’re travelling to that aren’t usually known by tourists. I personally recommend Flytographer for finding local photographers around the world. I’ve personally never hired a professional photographer, however, I was lucky to have been approached by one to take photos at Gyeongbokgung Palace in Seoul for free.
Take a Tour
Some of my favourite travel photos have been taken by local tour guides on trips. Most of the time I find that the local guides are not only great at providing local recommendations for a travel destination but they’re also great photographers. Since they’re technically working they make more of an effort at taking your photos than asking a stranger.
Taking a local tour is also a great way to meet people as a solo traveller who may also take your photo. Generally, tours operate in different formats including group trip tours, day trip tours or free walking tours. For day trip tours I always recommend Get Your Guide and Klook for travelling overseas.
Reach Out to Solo Travellers
If you’re still a bit intimidated to take photos of yourself why not connect with other solo travellers? There is a high likelihood you’re probably in the same boat and it’s mutually beneficial for each person to get photos on a trip. If you can’t find any solo travellers to meet up in person at your travel destination don’t be scared to reach out on social media.
One of the popular ways to meet up with solo travellers is through Facebook groups. There are different Facebook groups including those exclusively for solo female travellers and certain countries. What’s common with these Facebook groups are people posting in these groups about a location they’re travelling to and in search of travel buddies. You can post in the group that you’re travelling to a certain place and looking for help to get some travel photography done and hopefully, you can connect with someone on the same boat.

Get Creative
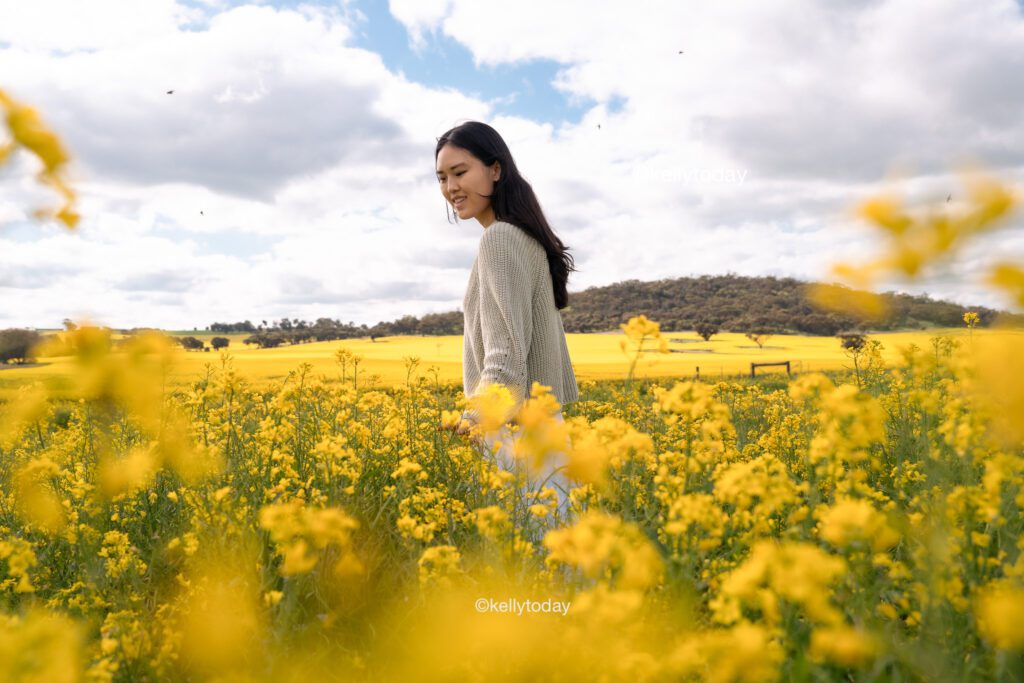
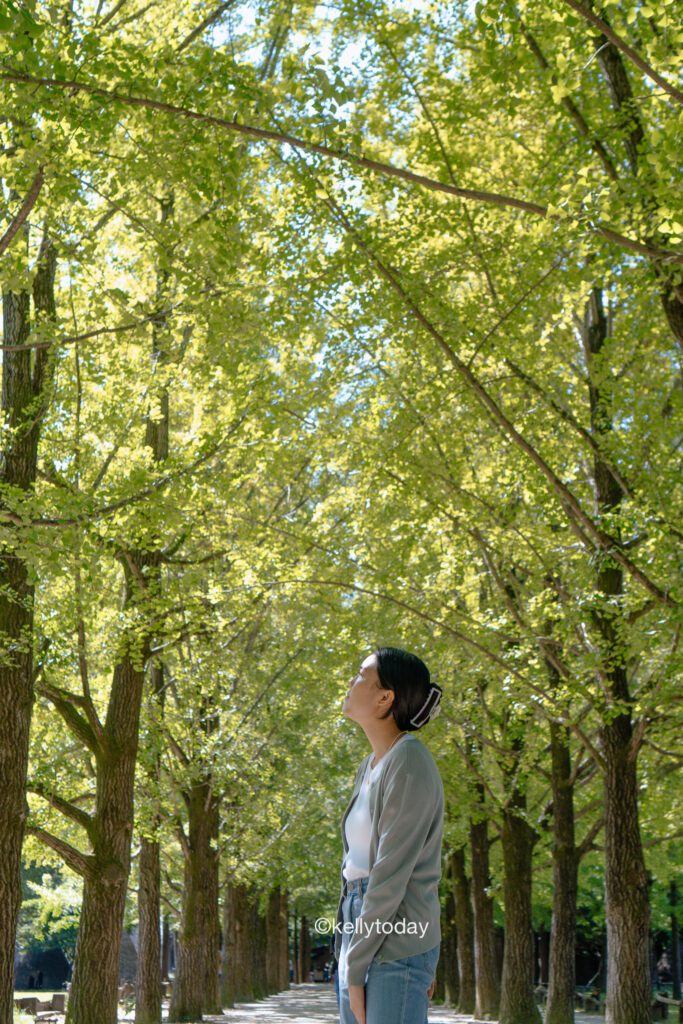
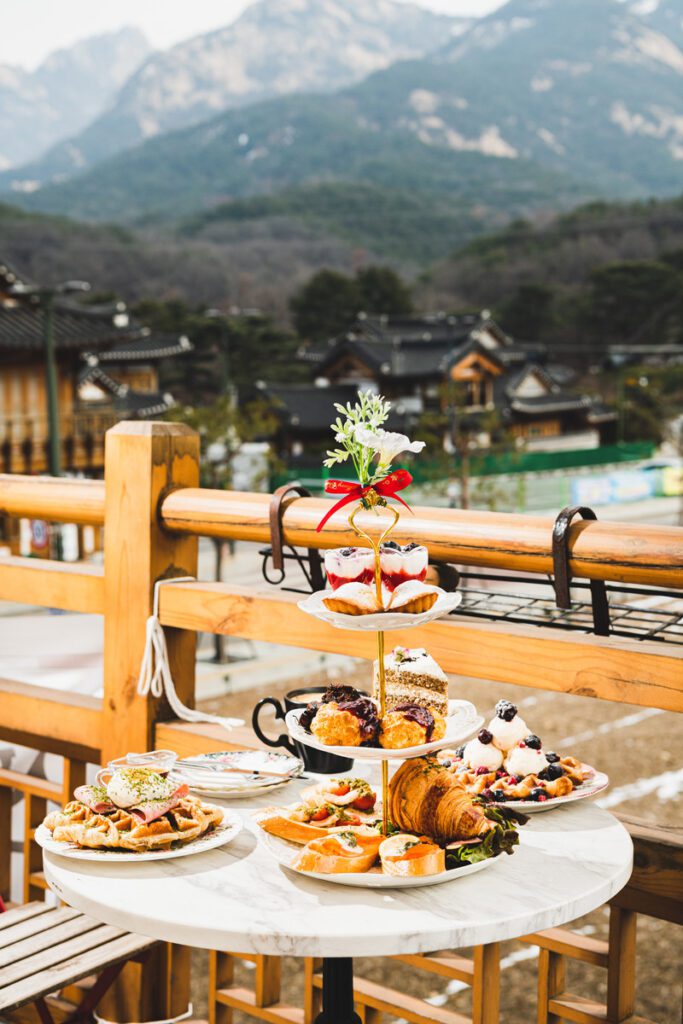
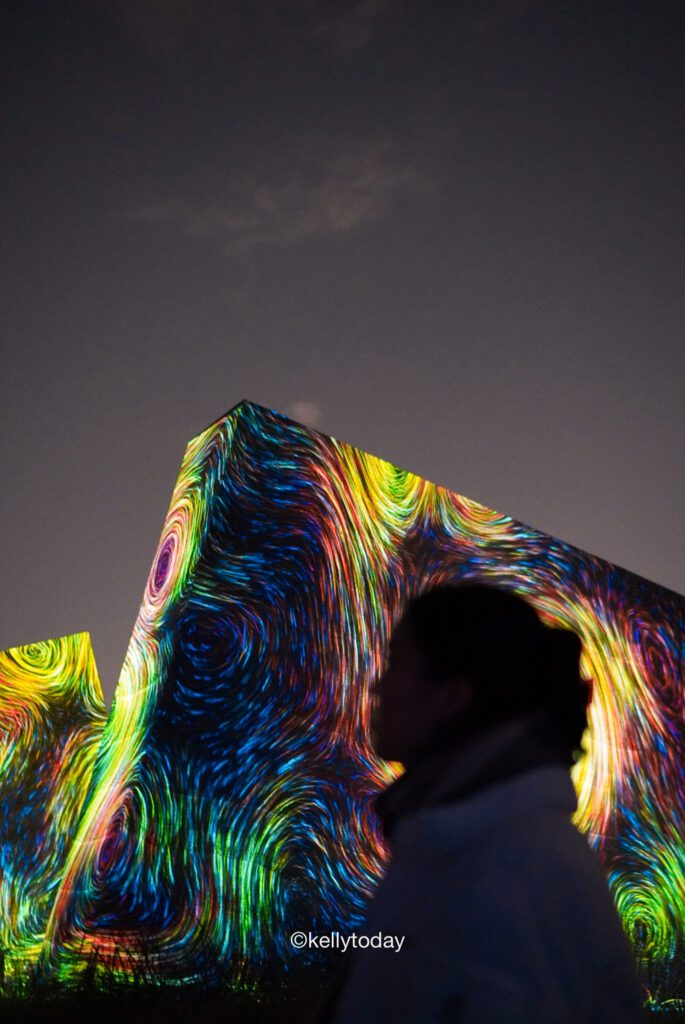
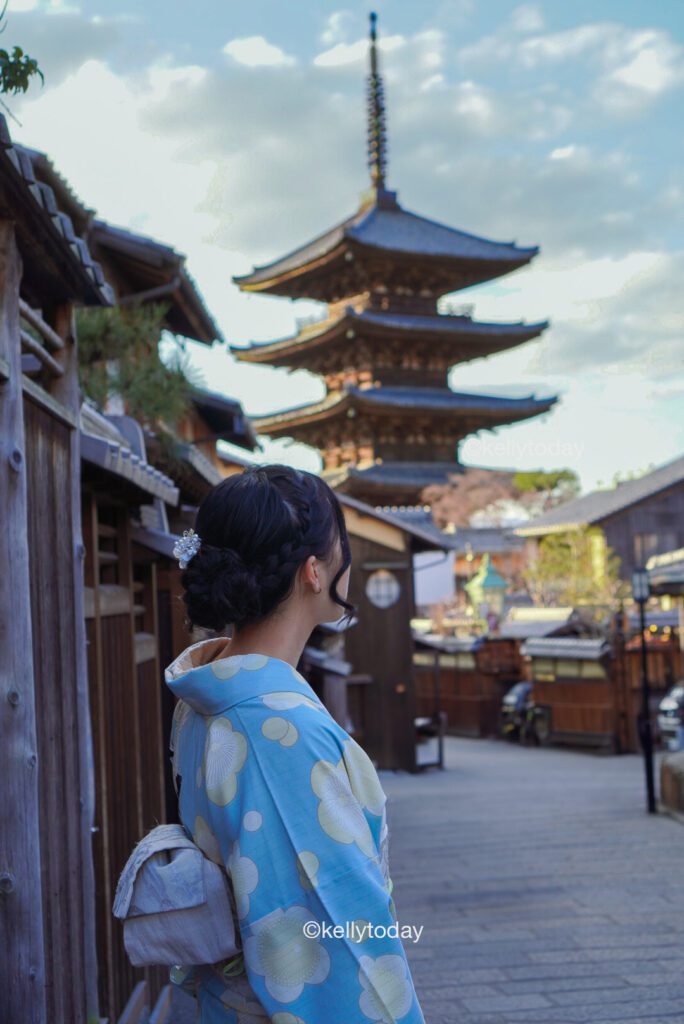
Getting photos of yourself whilst you’re travelling doesn’t always have to be that full-body shot. Don’t be afraid to get creative and incorporate different human elements in your photos from your hands, feet, and back head shots with different backgrounds. Another popular photo idea done by content creators is taking photos of themselves holding an item such as a drink or food. As an example, you could take a photo of a beverage or food with a gorgeous background. Alternatively, you can also post a photo of a person’s silhouette with a stunning background. This is a great option for those a bit shy about showing their faces in photos.
Go Early
If you’re feeling a bit self-conscious about taking photos of yourself in public here are some helpful tips on avoiding crowds when you’re trying to get those travel photos.
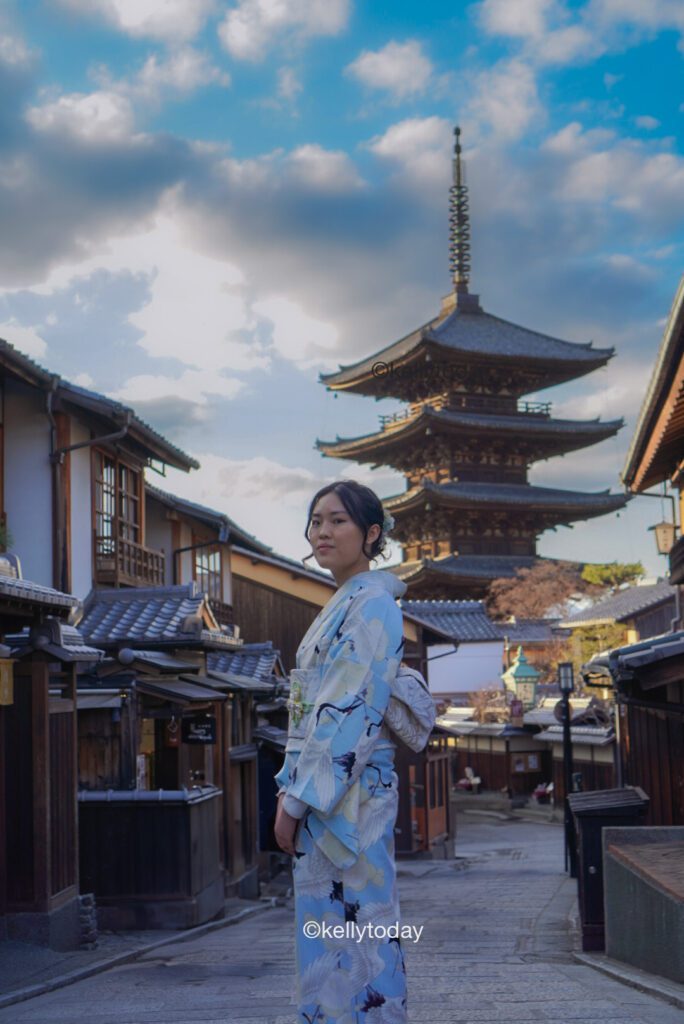
Make sure to do your research on the location you want to photograph. This includes the times you should visit the area without the crowds, whether it’s waking up early in the day or going later. The time you choose to take your photos is important for several reasons. Firstly, the amount of people can differ which will make a difference in them showing up in your photos. Secondly, with fewer people around you’re less likely to feel embarrassed parading around in public in front of your tripod because no one else will see it. Timing is also important because when you can visit a spot with fewer crowds it can help lessen your anxiety about your camera getting stolen.
How To Now Look Awkward in Photos
We’ve covered how to set up taking your photos of yourself on your travels now let’s discuss how not to look awkward in your photos. Here are some helpful tips for photographing yourself travelling alone in an authentic and candid way. These photo tips can also be applied when taking photos of yourself at home.
Use a Prop
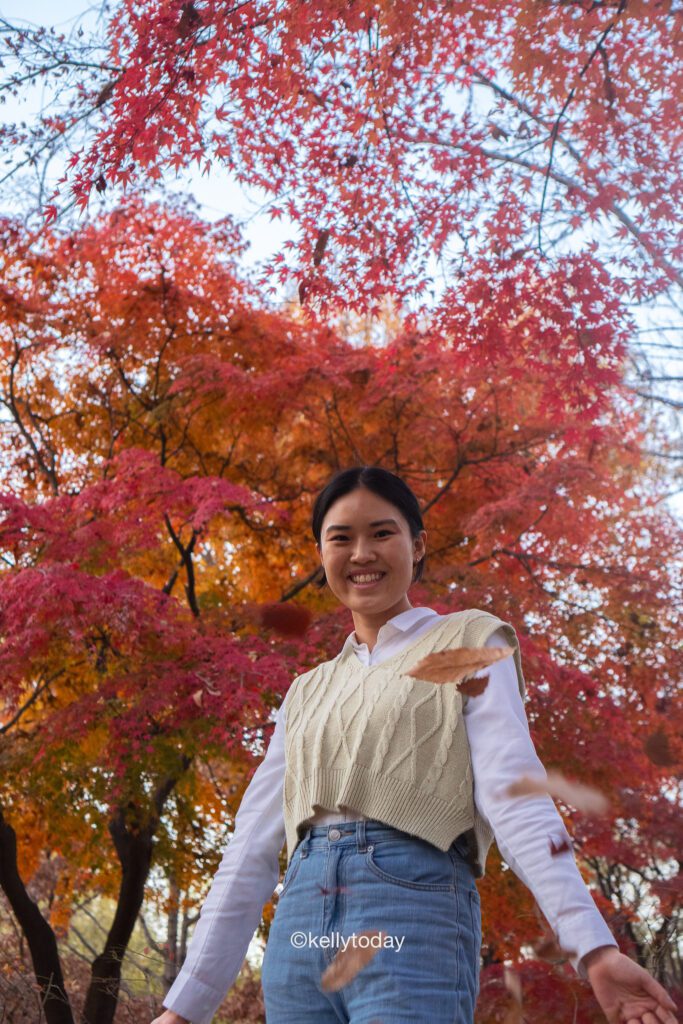
One handy trick to not looking awkward in photos is by utilising a prop. Often most people feel awkward in positioning their hands in photos and holding onto an item can make your photo look more natural. Examples of props you can use include drinks, hats, sunglasses, the list goes on. Alternatively, you can also interact with your surroundings such as reaching out to touch something in your environment like throwing loose leaves. This can make your photos more natural and fun in your photographs.
Sitting Down
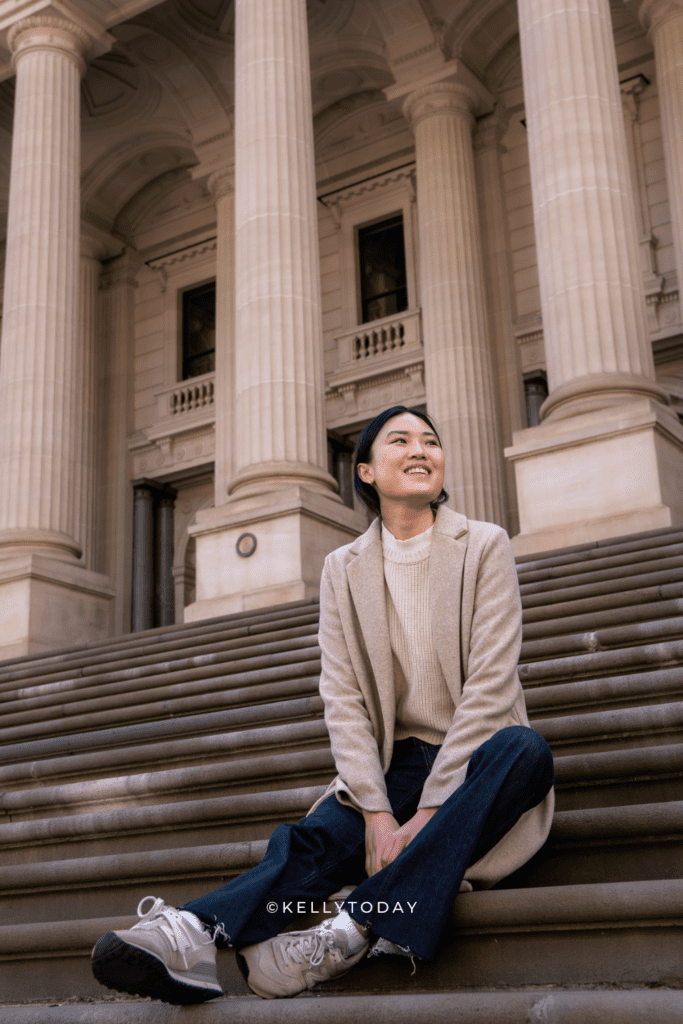
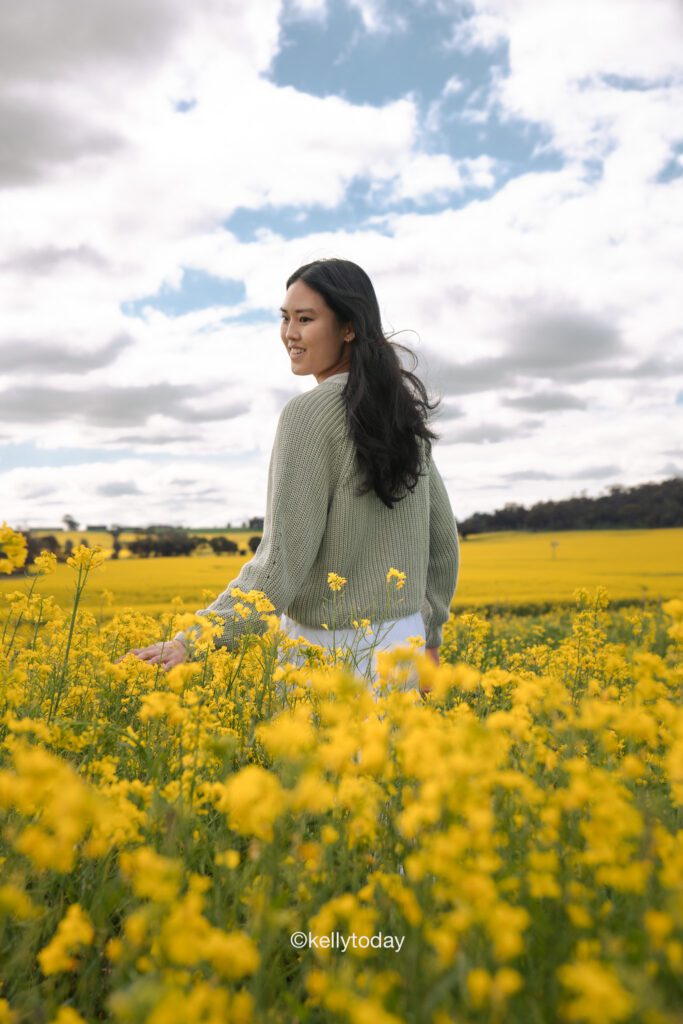
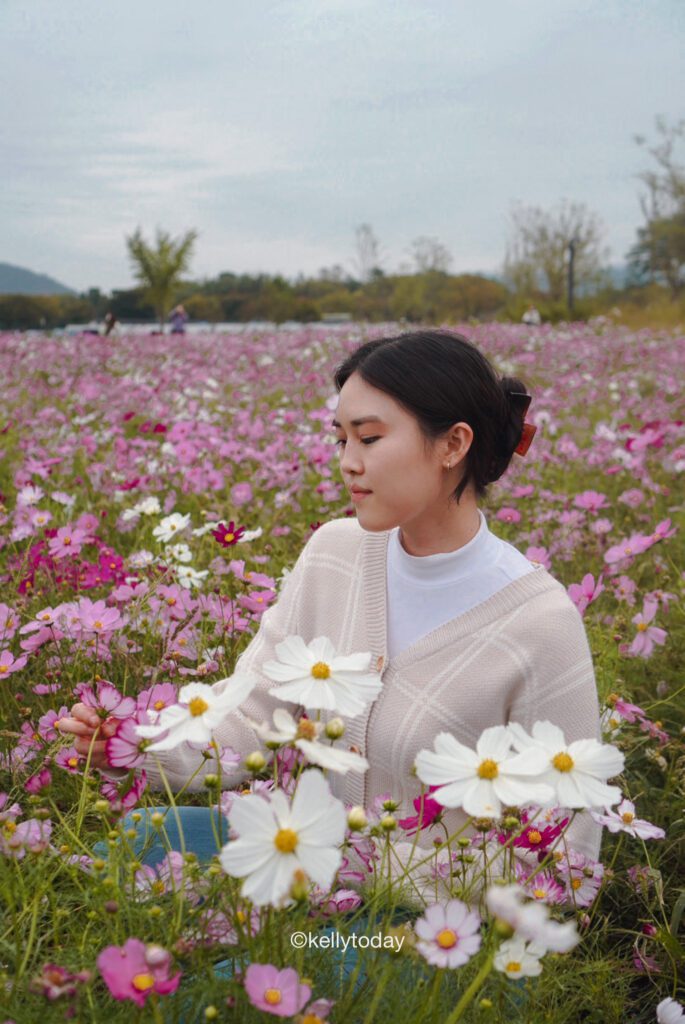
If you’re feeling a bit awkward standing and taking your photos why not sit down? Experiment with different angles in a sitting-down pose. Whether it’s sitting down looking at the camera or looking at a gorgeous view this is a great alternative for those not wanting to just stand stiff in front of the camera. It’s also helpful to practice and learn which angles of your face or body you feel most comfortable photographing. It will feel awkward at first but you get used to it over time. Just remind yourself these photos will be worth the memories!

Incorporate Movement
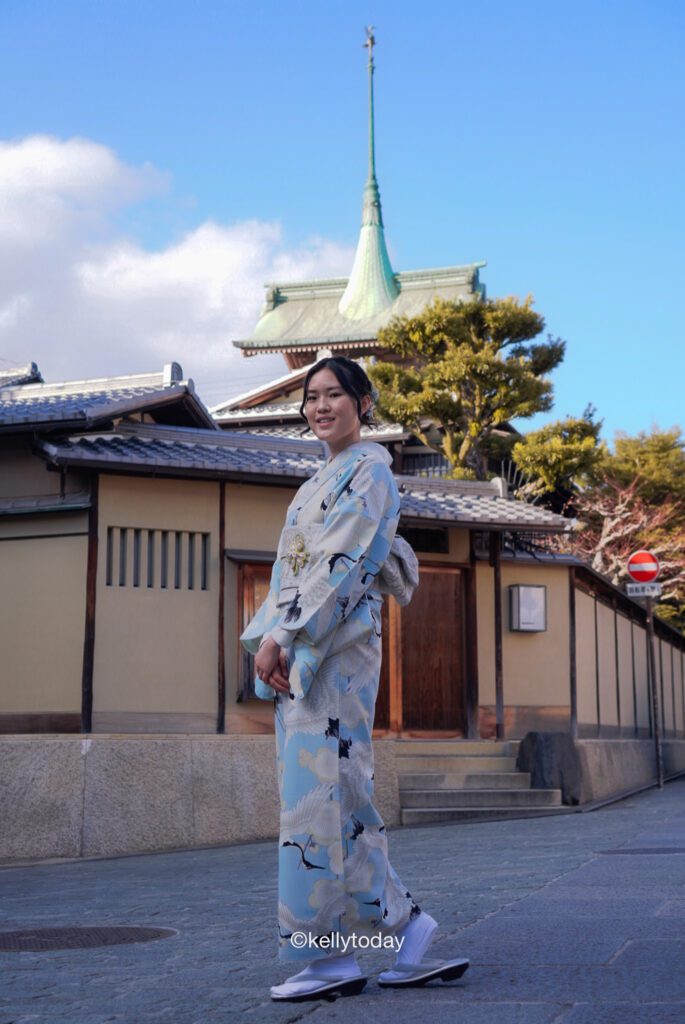
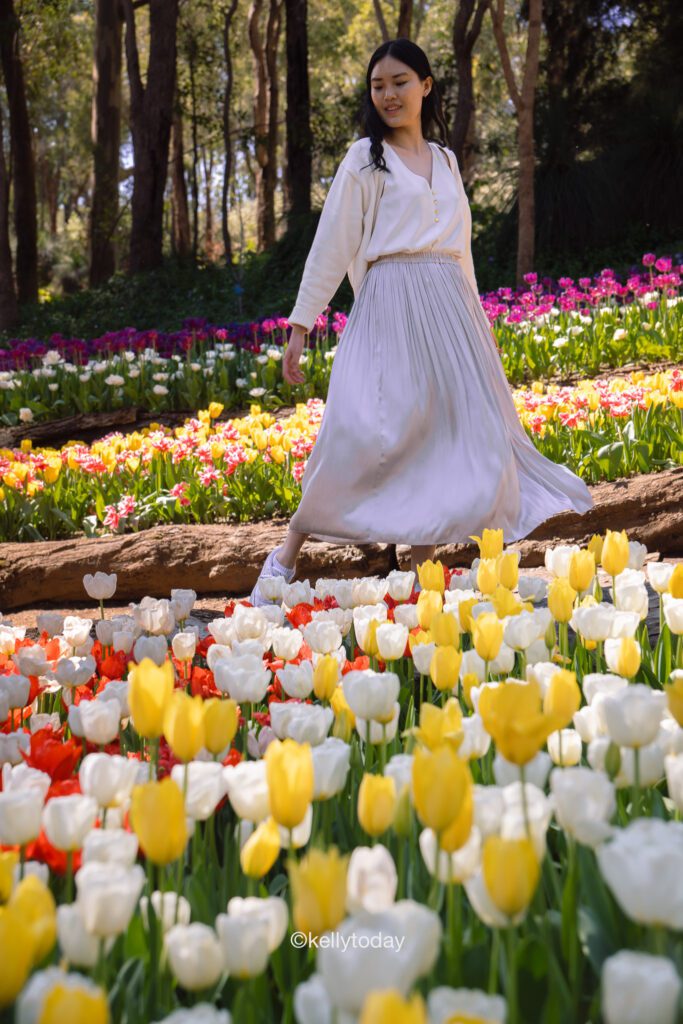
One of the most common mistakes people make when taking photos of themselves is not incorporating movement in their photos. Simple movements like walking or twirling are a great way to make your photos less ‘planned’ out and more natural. To best capture movement in your photos it’s always best to set up your camera or phone with a self-timer, burst mode or interval shooting to take photos every second. Using this method you’re more likely to get a dynamic photo that captures movement.
For those who are still a bit shy about taking self-portraits, try the ‘walking away from the camera’ pose to get a candid photo coupled with a self-timer. My best advice for this method is to try walking forward and backward a couple of times whilst the camera is set up for interval shooting.
Get Creative With Your Hands
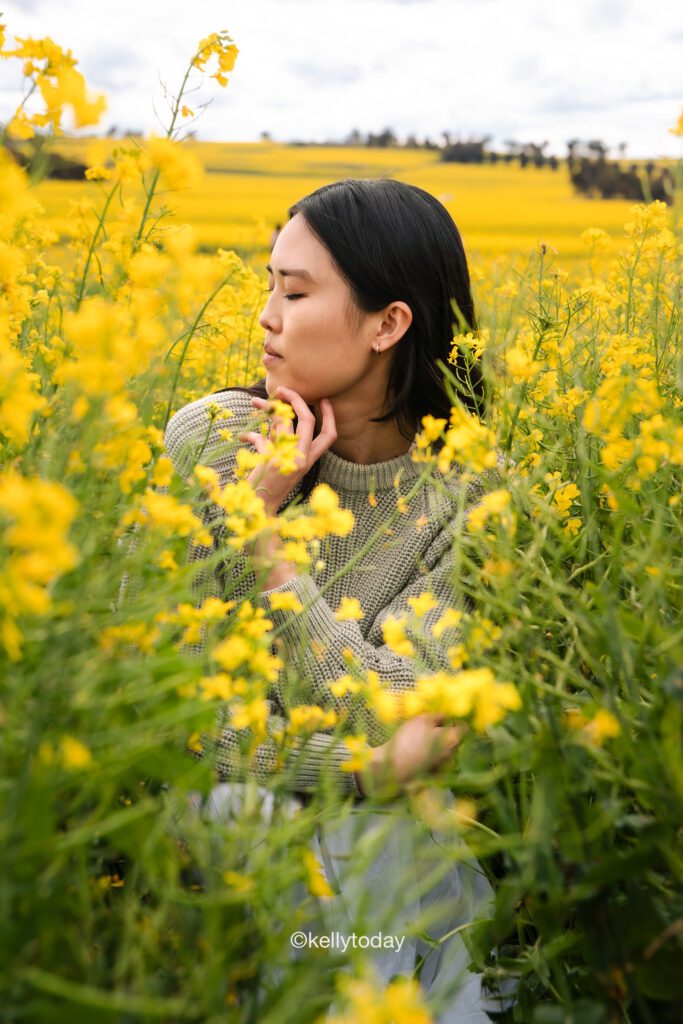
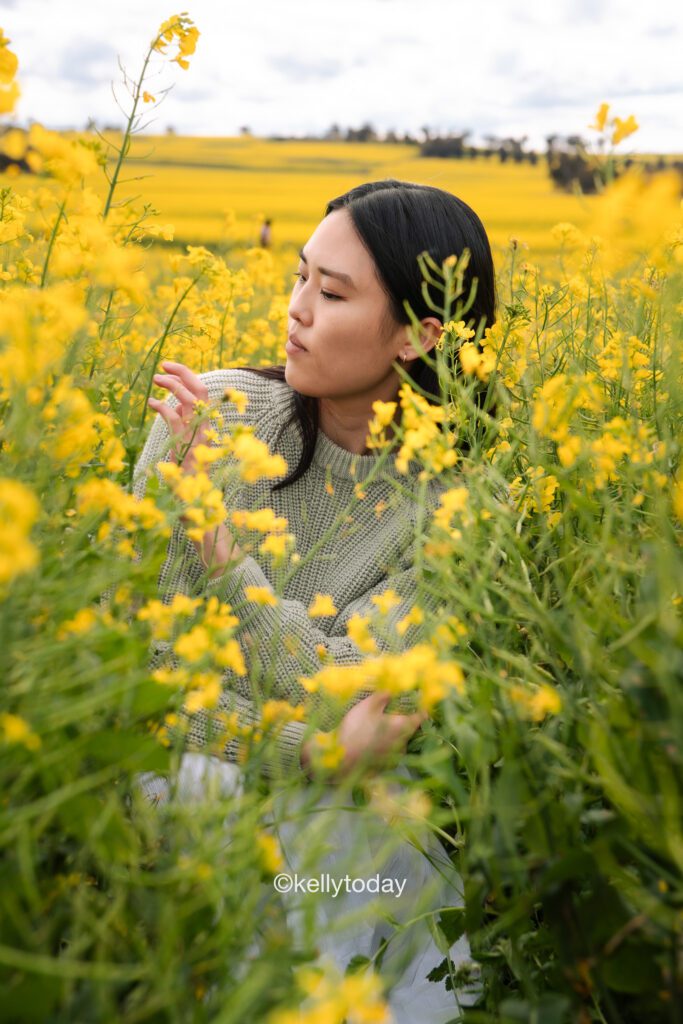
Another handy trick to looking candid in your photos is by experimenting with the positions of your hands in your photos. This includes playing with your hair, putting it under your chin, the list goes on. This method also goes well with alternating different poses or movements when you’re taking your photos. It doesn’t have to be major movements like jumping but changing the positioning of your face, legs, and arms or simply looking at a different angle. Another helpful tip is to practice finding your best angles so you know which angles to best photograph.
Watch Out For Your Camera
As always, remember to be aware of your surroundings not just taking your photos but in general. Always remember where your valuables are at all times and plan out the timing of your photo shooting locations. If you’re taking photos during the day at a popular attraction, choose to take photos where you’re only a short distance from your camera for a few seconds. This way you don’t have to worry about your camera getting bumped or worst case stolen. Generally, if you want to avoid this feeling it’s always best to visit these well-known tourist spots early in the day or you can find alternative lesser-known spots to photograph.
Back It Up
Don’t learn the hard way of losing all your photos from a trip. Always remember to back up your photos and videos of your travels. Here are some handy ways to back up your photos from your phone or camera.
- Use Google Photos – This is a free app that automatically backups your photos with WiFi and/or data. After you’ve uploaded these photos you can also access them from any phone or computer with your login information. This is really handy if you lose or break your phone.
- Upload it to your tablet or laptop – Always back up your photos on a laptop or tablet as soon as possible.
- Use a hard drive – If you take lots of photos, then the best option is to invest in a hard drive. I always recommend buying a hard drive or SSD with storage of 2TB (2000 GB) so I have plenty of storage to store both my photos and videos.
Practice Makes Perfect
It seems obvious but only through practice will you improve in photography and feel more comfortable taking photos of yourself in public. If I look back at my photos when I first started, they were so awkward, out of focus, underexposed, and the list goes on! Remember that photography is a learning process and it takes time before you see yourself improving. If you found these tips helpful don’t forget to download my free photography guide. I share fundamental photography tips that help you start your photography journey to take better photos of your travels, life, family, and everything in between.
Frequently Asked Questions
How do you edit your photos?
Editing your photos is a great way to portray a specific mood and personalise your photos to your preference. I generally avoid phone and Instagram filters as they’re quite limiting. I always use Adobe Lightroom to adjust specific elements of my photos based on my preferences. This app is free to download and you can adjust settings from everything including clarity, exposure and colouring of the photo.
Is there an app to take pictures of yourself alone?
For Samsung users, I recommend using the pre-existing camera app on the phone. Utilise the ‘palm gesture‘ feature on the camera app which allows you to take selfies or start recording selfie videos once activated by showing your palm to the camera.
For iPhone users, I recommend downloading the photo app Lens Buddy which is a timer camera app that helps you take hands-free photos and selfies.
What is the best tripod for solo travel photography?
I personally use two different tripods when taking my photos by myself. The first is a full-sized Manfrotto tripod which is very light and sturdy. Whilst it is a bit bulky to carry around I usually only use this when shooting photos on a day trip from home.
The second tripod I use is a compact tripod with bendable legs, the Joby Gorillapod. This tripod is more portable than a full-length tripod with flexibility in propping my camera on multiple surfaces or wrapping the tripod legs around something like a tree branch of poll. It’s also one of the best tripods if you’re moving from different places as you don’t have time to set it up and take down your tripod every time you want to take a photo. This tripod is also compatible with smartphones.
Found this helpful? 👇🏼
Found this free guide helpful? Support my work so I can produce more free content for you.


What a great detailed post! Very helpful, thank you for sharing! Never been good taking photos of myself, so lots to learn here.
If you can’t find a passer-by to take a photo of you then it is often down to selfies which aren’t always successful so your guide gives a good round-up of tips and equipment to get that good solo photo.
I absolutely love solo photography, it gives me so many opportunities to test my creativity. I’ve recently started playing around with a GoPro and you’re right, its so useful!
Great advice! I don’t travel along often, but I do sometimes explore for a bit on my own and photos are terrible..tripod is a great idea..and I am going to try out the angles…. hoping for better photos!
I almost always travel with someone, but these tips can be used when traveling with other people too. Thanks for sharing!
Great tips on catching the perfect photo! I utilize some of them on my travels.
Some great tips here. I must get myself a tripod.
Thank you for this blog post! I loved all your pictures and the aesthetic of them, they‘re very inspirational 🙂
I am admittedly rubbish at taking photos of myself. It doesn’t help that my boyfriend mocks me whenever he catches me taking a selfie and then photographs me doing it!! LOL. Your photos are stunning so good for you! I’ll be sure to try some of your tips.