Taking photos as a solo traveller isn’t always easy. Over the years, I’ve learned how to capture my own shots and experiment with the gear that works best for me. In this guide, I’m sharing my top travel photography gear recommendations for 2025, drawn from years of travelling solo. I’ll also answer the questions I get asked most, like “How do you take your photos?” and “What camera do you use?”
These recommendations are based on my personal experience and are geared toward travel content creators and influencers looking for reliable tools. I’ll cover the gear I’ve used as a beginner and hobbyist photographer, as well as how I’ve upgraded and refined my kit over time while improving my photography and videography skills.
Disclaimer: This post may contain affiliate links. At no extra cost to you, I may receive a small commission on purchases made through these links. By making any purchase, you are directly supporting and allowing me to continue providing you with high-quality resources and travel guides. Thank you for supporting this page! Please read the Disclosure Policy for details.
Frequently Asked Questions About Travel Content Creation
How did you learn photography?
As a self-taught photographer, I utilised a lot of YouTube videos to learn how to shoot in manual settings on my camera. It also helps by following photographers or content creators you admire for their photography style that you’d like to emulate. The best way to get used to shooting in manual mode is through practice. Start at home, day trips from home, really anything to get you started to take photos in manual settings.
Any advice for beginner photographers?
It is crucial to get to know your camera. Invest the time to familiarise yourself with your camera’s settings and controls. Learn how to use manual settings. Be patient with yourself and practice as much as you can. Take your camera everywhere you go and take photos of anything and everything. You’ll only improve with more practice.
How do you organise your photos?
I organise my photos by date and location (what I did that day) and then back up my photos to my physical hard drive. This makes it easier to access my photos when I’m editing them in my software. After I’ve edited my photos in Adobe Lightroom, I also transfer them to my hard drive for safekeeping.
What resources do you use to save your photos? How do you send your images to clients?
I store all my content on my hard drives and Adobe Cloud. For delivering client content, I often use Google Drive and also back up everything on my hard drive.
What camera gear do you recommend for beginners?
One tip I’d like to highlight for those interested in starting photography. You do not need the most expensive camera gear to create good content. If you’re just starting out, I recommend getting gear that is budget-friendly and saving your money on travel instead. For beginners, a DSLR or mirrorless camera is a great option for beginners.
What is the best camera bag for travel photography?
When you’re travelling, you’ll need a bag to keep all your gear protected and organised. You’ll want to look for bags that have plenty of compartments and are spacious and lightweight. Remember to buy a good quality bag as it will need to protect all your gear from the environment and also make it easier for you to access your gear. I’ll provide some recommendations below for recommended bags. If you want to research on your own, check if the bag is dustproof, waterproof, and also has some sort of padding. This will help protect your gear in the long run.
Any tips for those starting out on creating travel content?
One of the biggest misconceptions about creating content is that you need the “best” or most expensive gear. The truth is, it’s less about having professional equipment and more about the value you bring and the type of content you create to engage and grow your audience. High-end gear can certainly elevate your work, but when you’re starting out, focusing on creating meaningful and valuable content is what really helps you grow.
What is the best lens for travel photography?
If you’re just beginning, your kit lens is a fantastic starting point for travel photography. The next lens you choose should align with the kind of photos you want to capture. For close-ups of people or wildlife, a telephoto zoom lens is ideal. For landscapes, architecture, or vlogging, a wide-angle lens works best. If you want versatility for a mix of subjects, a mid-range zoom lens is a solid choice.
Before investing in new lenses, spend time practising with your kit lens. This will help you understand your preferences, experiment with different compositions, and discover the subjects you enjoy capturing most in your travel content.
📸 Learn how to make your photos look like they were shot on a Fujifilm camera with this guide.
Best Travel Photography Gear
As a travel content creator and photographer, having the right camera gear is essential for capturing both photos and videos on the go. After researching what other creators in my niche started with and testing the gear myself, I’ve put together my top equipment recommendations for travel content creators and influencers who are just starting out. These suggestions reflect my personal preferences for travel: gear that’s lightweight, easy to carry, and still capable of producing high-quality content.
Travel Photography Gear That is Worth Investing In
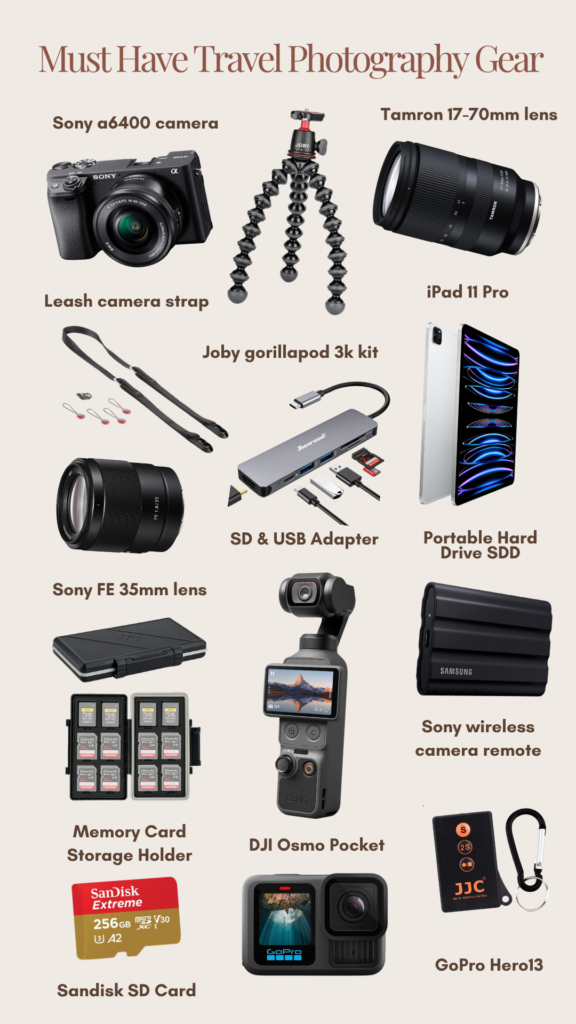
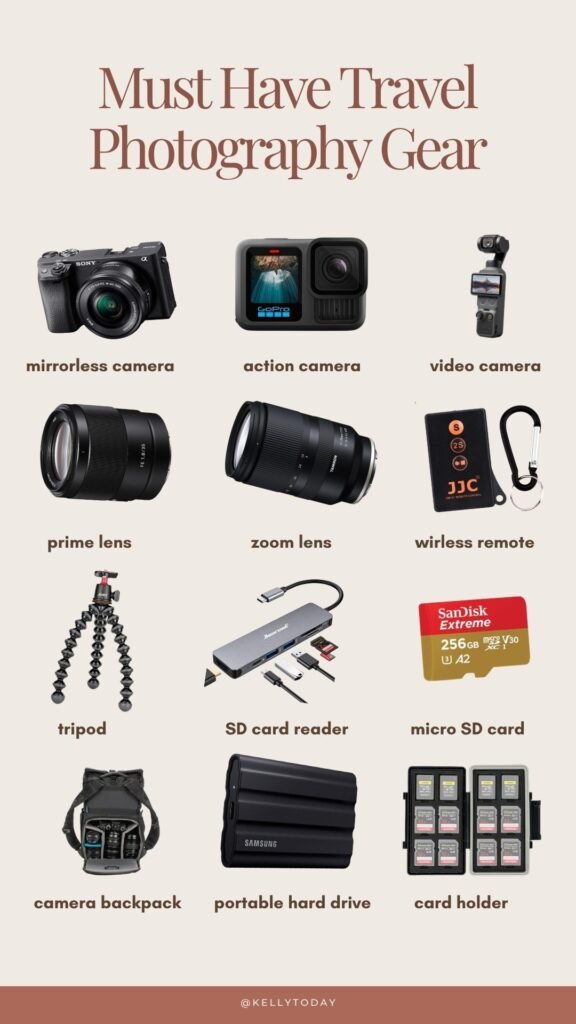
Short on time? Here’s a brief overview of the photography gear I’ve invested in as a self-taught photographer and content creator.
Travel Photography Gear Essentials
📷 Best Sony camera & kit lens for beginners or travelling.
📱 Best phone for capturing photos and videos: Samsung S26+
🎥 Best compact camera for photos and videos
🤿 Best underwater camera – GoPro Hero 13
🤳🏼 Take photos by yourself using a tripod (Budget-Friendly) & Manfrotto Tripod
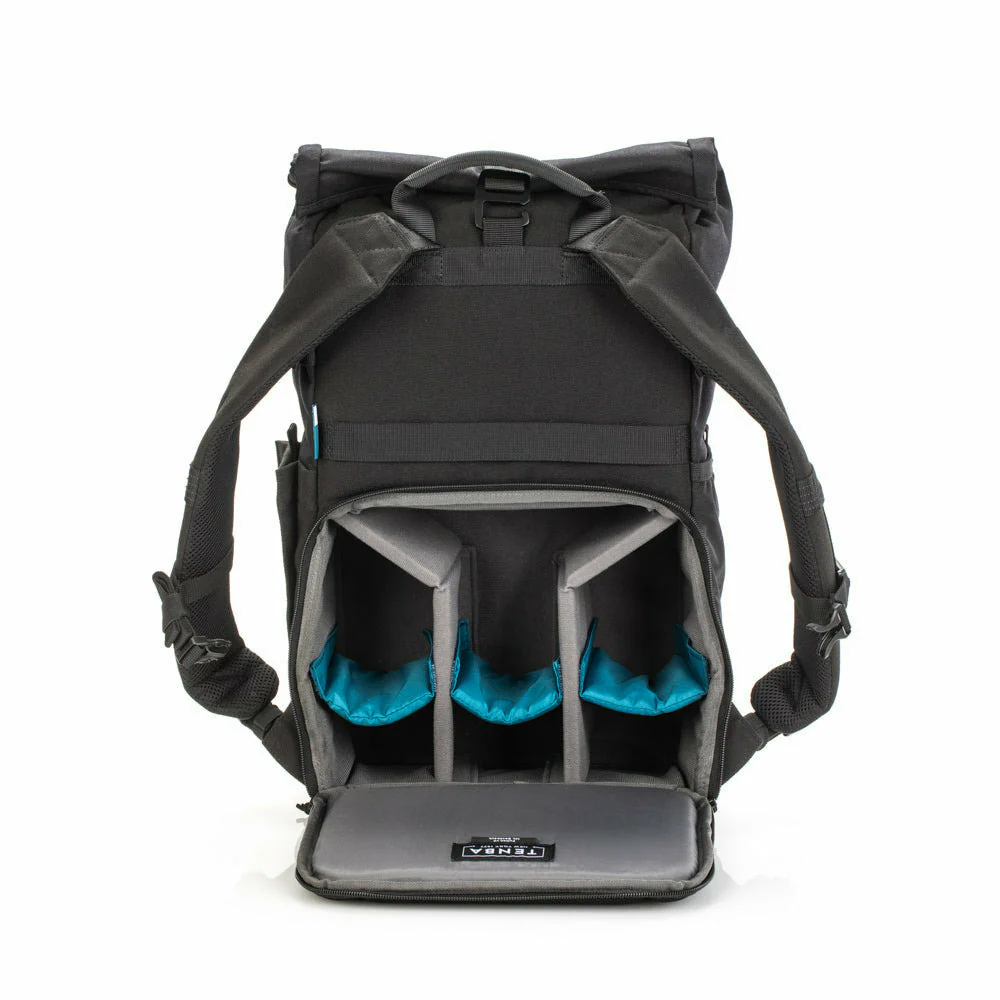
Store all your gear in one place with a reliable Tenba Fulton 14L backpack or messenger bag
📸 Keep your camera secure with a Peak Design camera strap
📷 Level up your photography with a prime lens or zoom lens
💻 Store all your content on a reliable SD Memory Card
👩🏻💻 Best portable hard drive: Samsung Shield
💻 Best SD/USB Card Reader: USB Card Reader or iPhone/iPad Card Reader
Explore my Camera Essentials Below
Here’s a breakdown of why I chose these products and how I use them in my content creation process. Think of this as your starter gear for your content creator kit.
Cameras
If you’re just getting started with travel photography, choosing the right camera body can make all the difference. A mirrorless or DSLR camera is a great place to begin—they offer excellent image quality for both photos and videos, along with the flexibility to switch lenses depending on what you’re shooting. Whether it’s wide landscapes or detailed close-ups, having that versatility opens up so many creative possibilities.
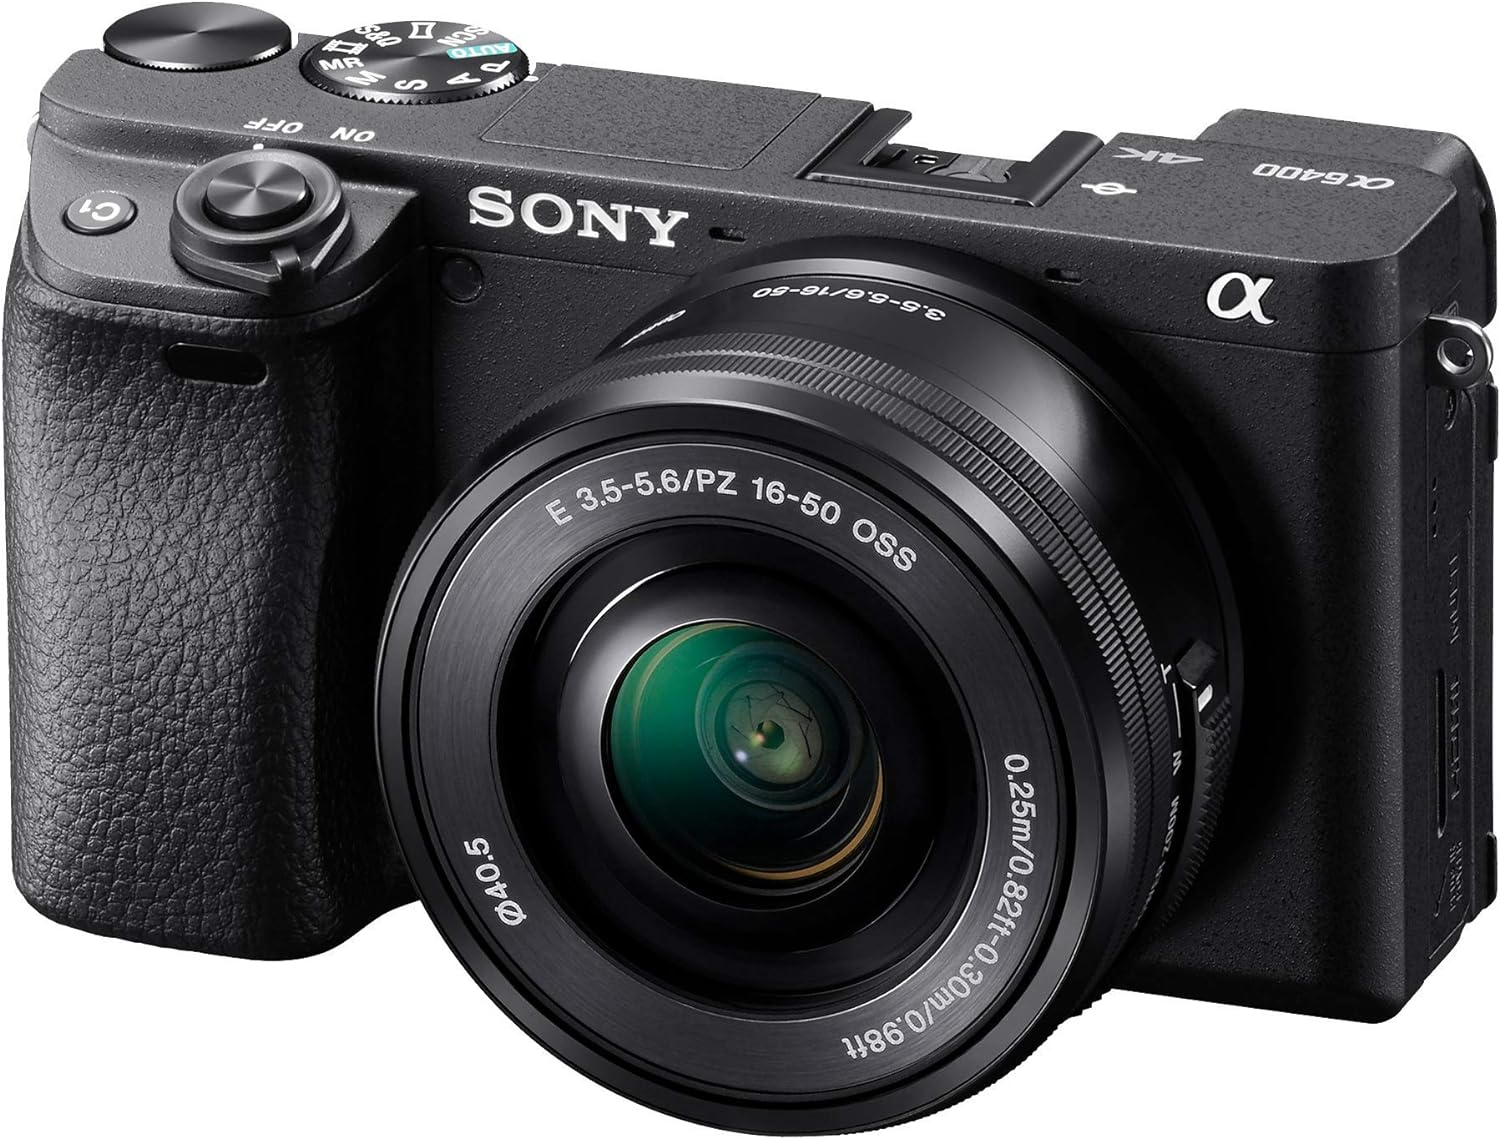
Sony A6400 (Best for travelling & beginners)
This is my go-to camera for both photography and video. It’s compact, reliable, and a great option if you’re looking to grow your skills over time. The 24MP APS-C sensor delivers sharp, detailed images, and the autofocus is incredibly fast—especially helpful when capturing movement or shooting on the go. It also performs well in low light, which is ideal for travel. What I love most is how lightweight and easy it is to carry, making it perfect for everyday use and vlogging.
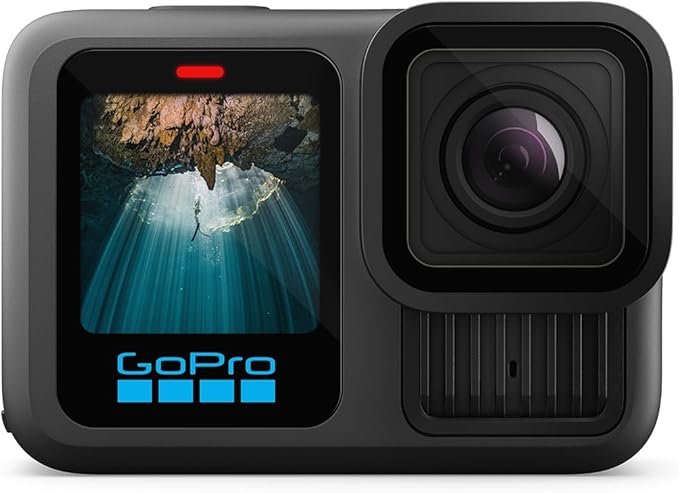
GoPro Hero 13 (Action Camera)
An essential for capturing more adventurous moments. Whether you’re swimming, hiking, or doing anything a little more high-energy, this camera is built for it. It shoots in 5K, captures 20MP photos, and features impressive stabilisation, so your footage stays smooth even in unpredictable conditions. It’s also a great option for underwater content.
Dji Osmo Pocket 4
If you’re focused on video, the DJI Osmo Pocket 4 is a handy addition to your kit. The built-in gimbal creates incredibly smooth, cinematic footage without needing extra stabilisation gear. It’s small enough to fit in your pocket, making it perfect for travel days when you want something lightweight but powerful. I especially love using it for walk-through shots, city scenes, and capturing movement in a more polished way.
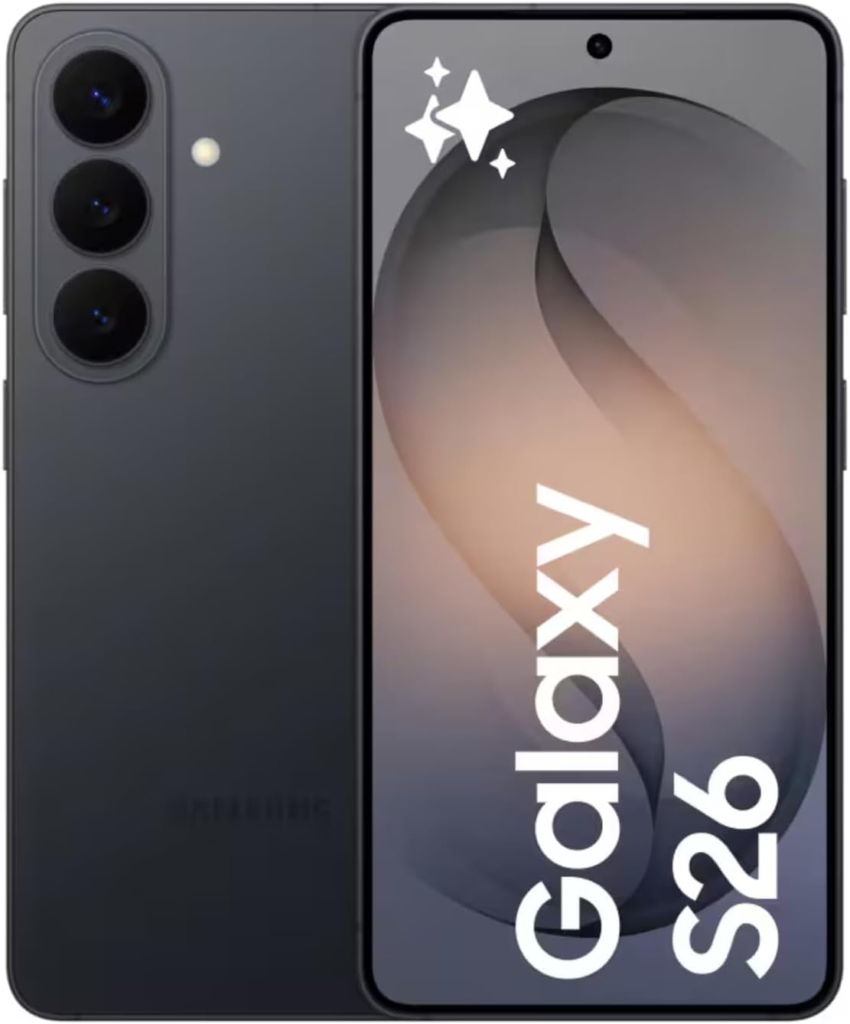
Best Phone: Samsung S26+
You don’t always need dedicated gear to capture great content—your phone is often more than enough. The Samsung S26 Plus is a reliable everyday option that makes it easy to shoot both photos and videos on the go. It’s convenient, lightweight, and perfect for those moments where you don’t want to carry extra equipment.
While tools like the DJI Osmo Pocket can elevate your video with smoother, more cinematic footage, your phone is still the most accessible and versatile camera you have. If you’re just starting out—or simply prefer to keep things minimal—it’s a great place to begin.
Camera Lenses
When you’re starting out, it’s worth spending time with your kit lens before investing in anything new. It helps you understand how different focal lengths feel and what you naturally gravitate towards—whether that’s portraits, landscapes, or more detailed shots. Once you’ve figured that out, choosing the right lens becomes much easier and more intentional.
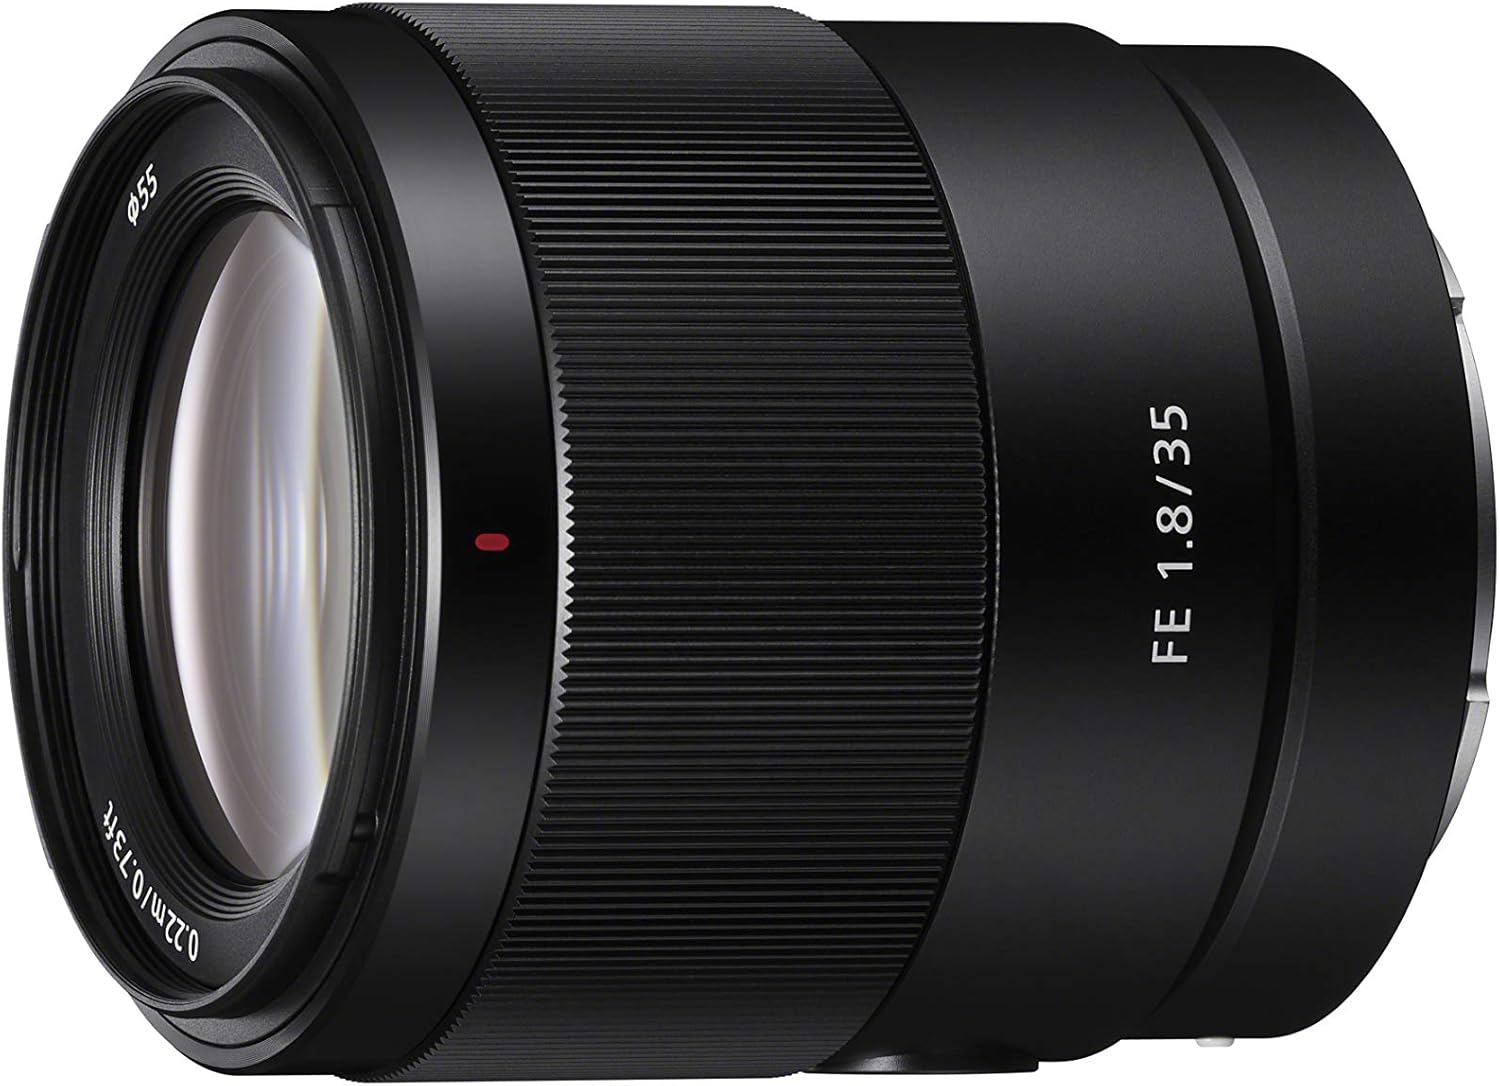
Sony 35mm Prime Lens f/1.8
This is my favourite focal length for portraits and everyday shooting. It feels natural, versatile, and easy to work with—especially if you’re still finding your style. The wide aperture is beautiful for creating soft background blur and works really well in low-light settings.
Tamron 17-70mm f/2.8
If I had to recommend just one lens for travel, this would be it. The focal range covers almost everything—from wide landscapes to tighter compositions—so you won’t need to constantly switch lenses. The constant f/2.8 aperture is also great for low light and adds a nice depth to your images.

Here are some example photos I’ve taken on my Sony camera with the Tamron lens.
Camera Accessories
Peak Design Leash Strap
A good camera strap makes a huge difference when you’re out all day. It keeps your camera secure while still being easy to access, so you’re always ready to capture a moment without fumbling through your bag.

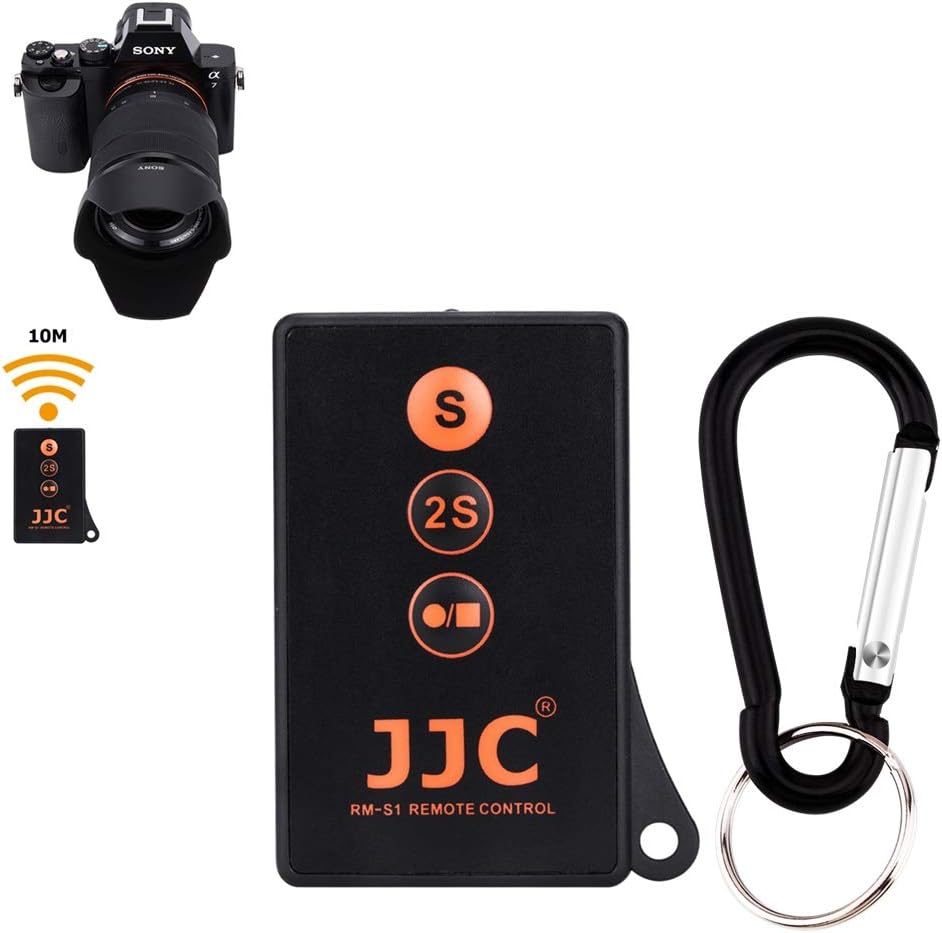
Sony Wireless Remote
If you’re shooting solo, a wireless remote is a game-changer. I use mine all the time for self-portraits while travelling—it saves a lot of trial and error with timers. Just note that this one is designed specifically for Sony cameras.
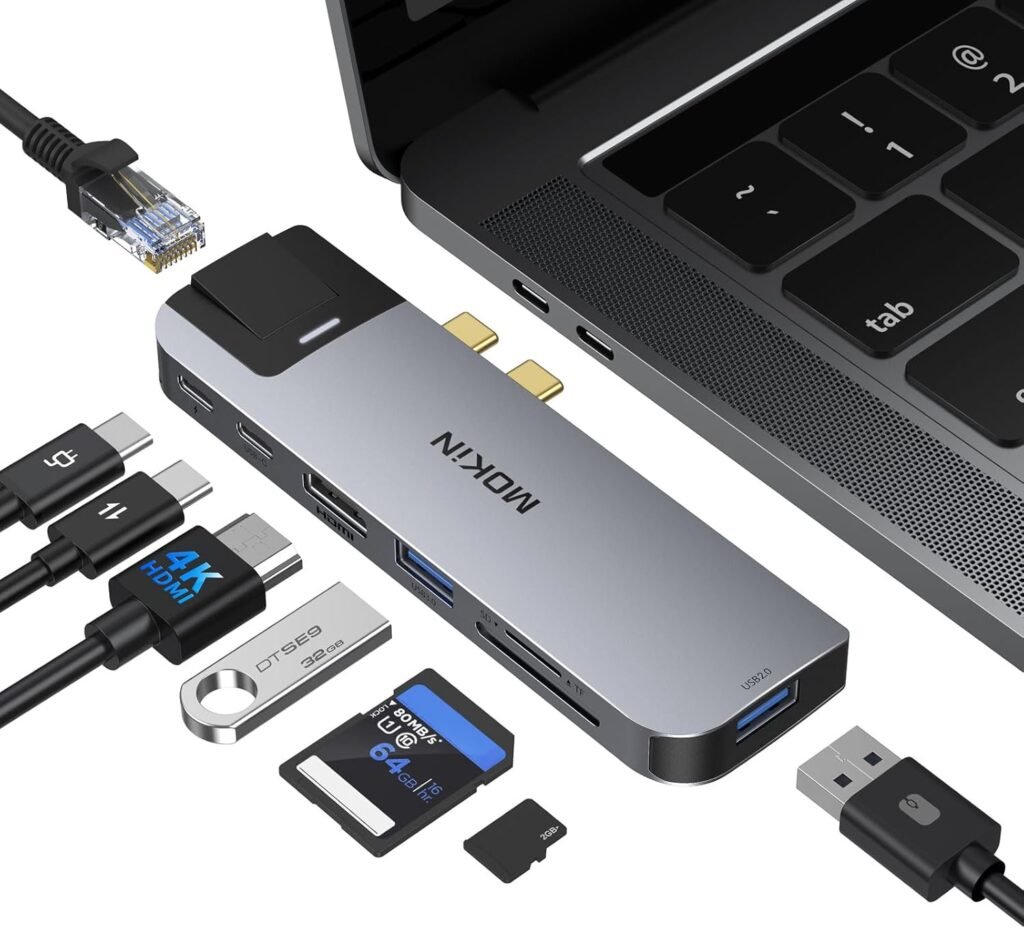
SD Card Reader & USB Adapte
A reliable USB adapter and multi-card reader is one of those small things that make your workflow so much easier. This type supports multiple memory cards and works across both Mac and Windows, which is ideal when you’re travelling or working between devices.
Tripod (Budget Friendly)
This was my first tripod, and it held up really well over time. It’s sturdy and reliable, though slightly heavier than most travel tripods. If you’re just starting out, it’s a solid and affordable option.

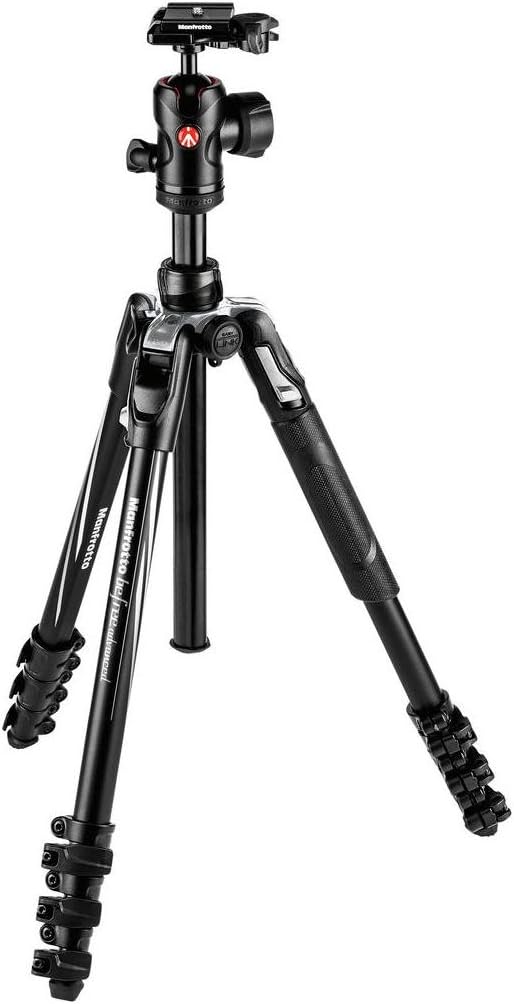
Manfrotto Tripod (Travel-friendly)
A lighter, more travel-friendly upgrade. It’s easier to carry around and extends a bit higher, which makes a difference when shooting from different angles. I often pair it with a smartphone clamp so I can switch between my camera and phone.
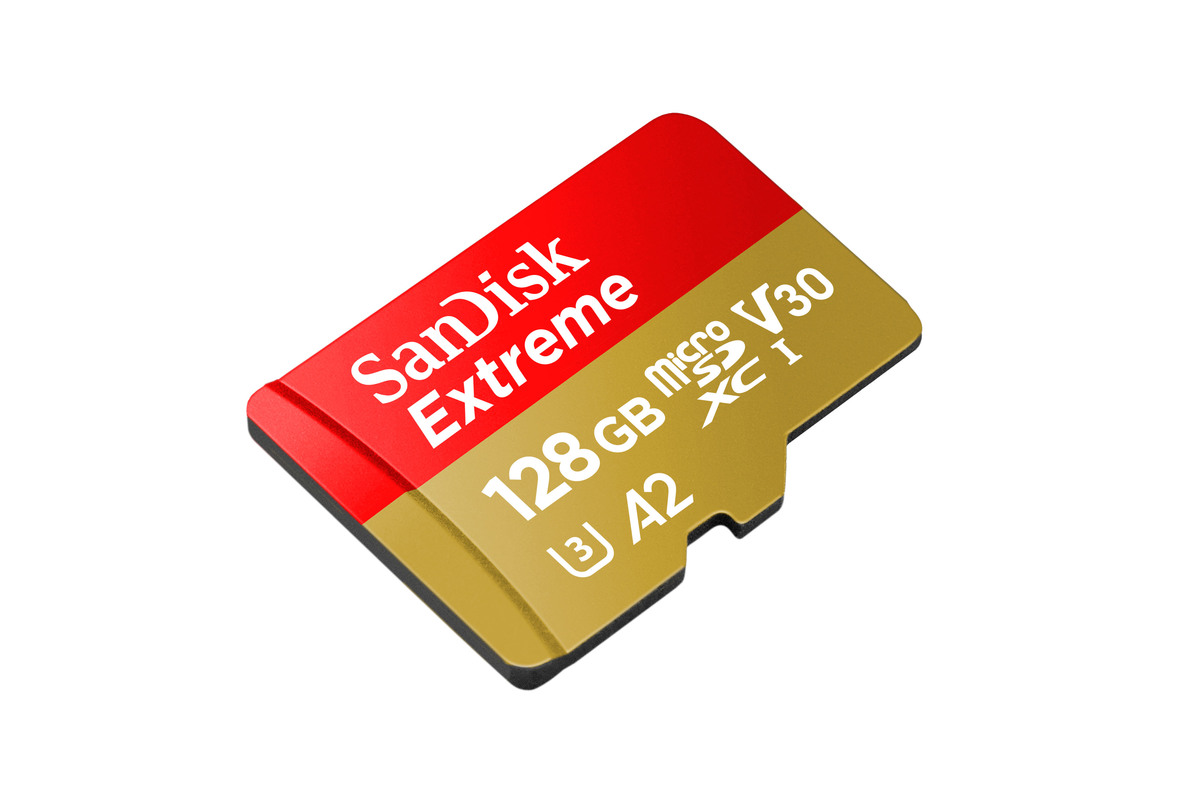
SanDisk SD Cards
Your SD card is where everything lives, so it’s worth investing in quality. I always go for high-speed, reliable options and usually choose at least 128GB—especially when travelling. Running out of storage mid-shoot is never ideal.
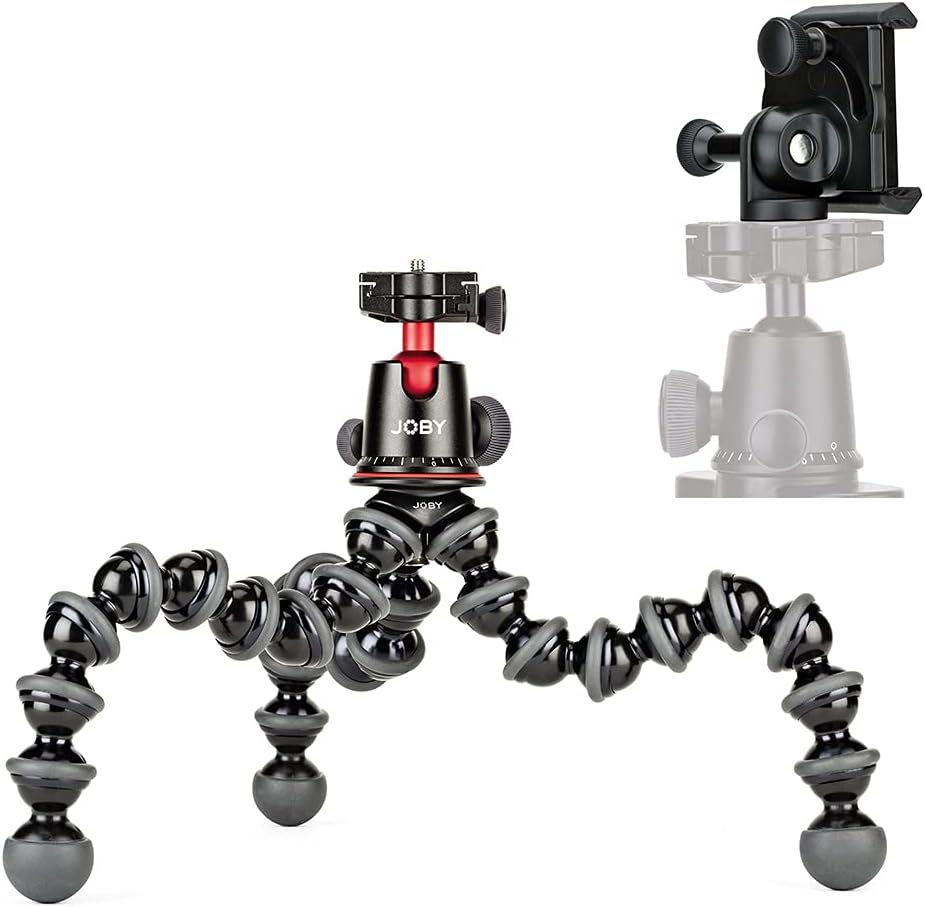
Joby GorillaPod (Compact Tripod)
A great beginner-friendly tripod for vlogging or flexible setups. The bendable legs let you secure your camera onto uneven surfaces, railings, or pretty much anything, which makes it incredibly versatile.
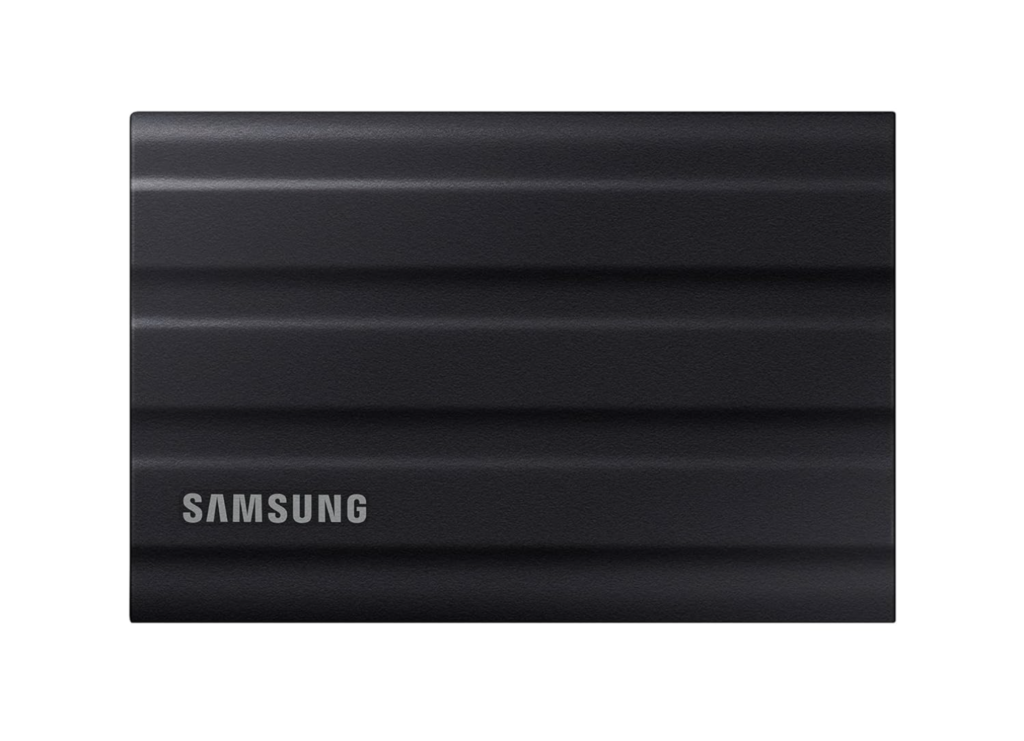
Portable Hard Drive
When I’m travelling, I back up my photos daily onto a portable hard drive from Samsung. It’s compact, durable, and gives me peace of mind knowing my content is safe. As a minimum, I get 1TB in storage for a portable SSD.
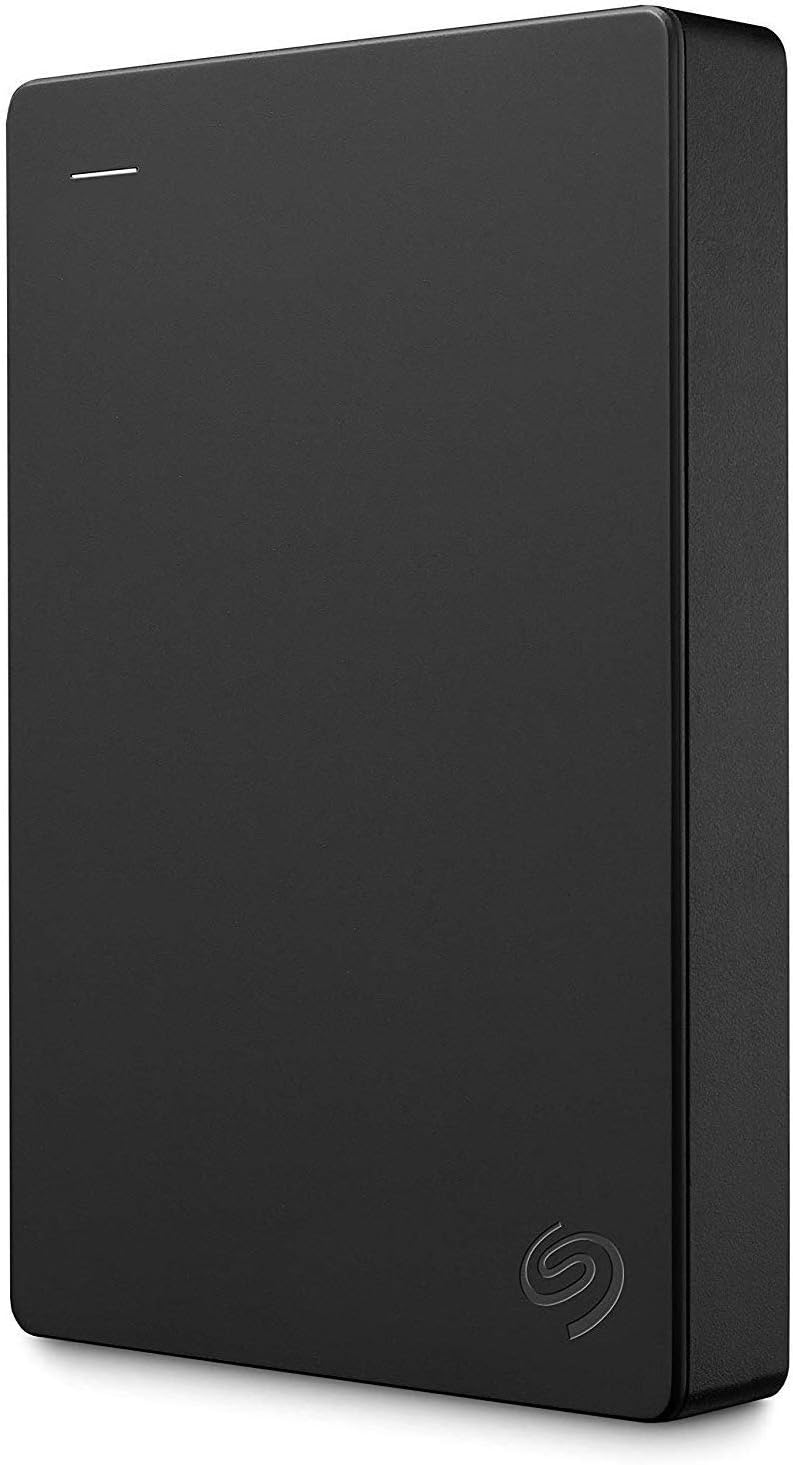
External Hard Drive (Home Setup)
At home, I store everything on a larger external hard drive from Seagate. Having a reliable backup system is essential—losing content is one of those things you only need to experience once to take seriously.
Camera Bags
Choosing the right bag is just as important as the gear itself. You want something that protects your equipment, keeps everything organised, and is comfortable enough to carry all day. I usually look for smart compartments, easy access, and a design that doesn’t feel too bulky.
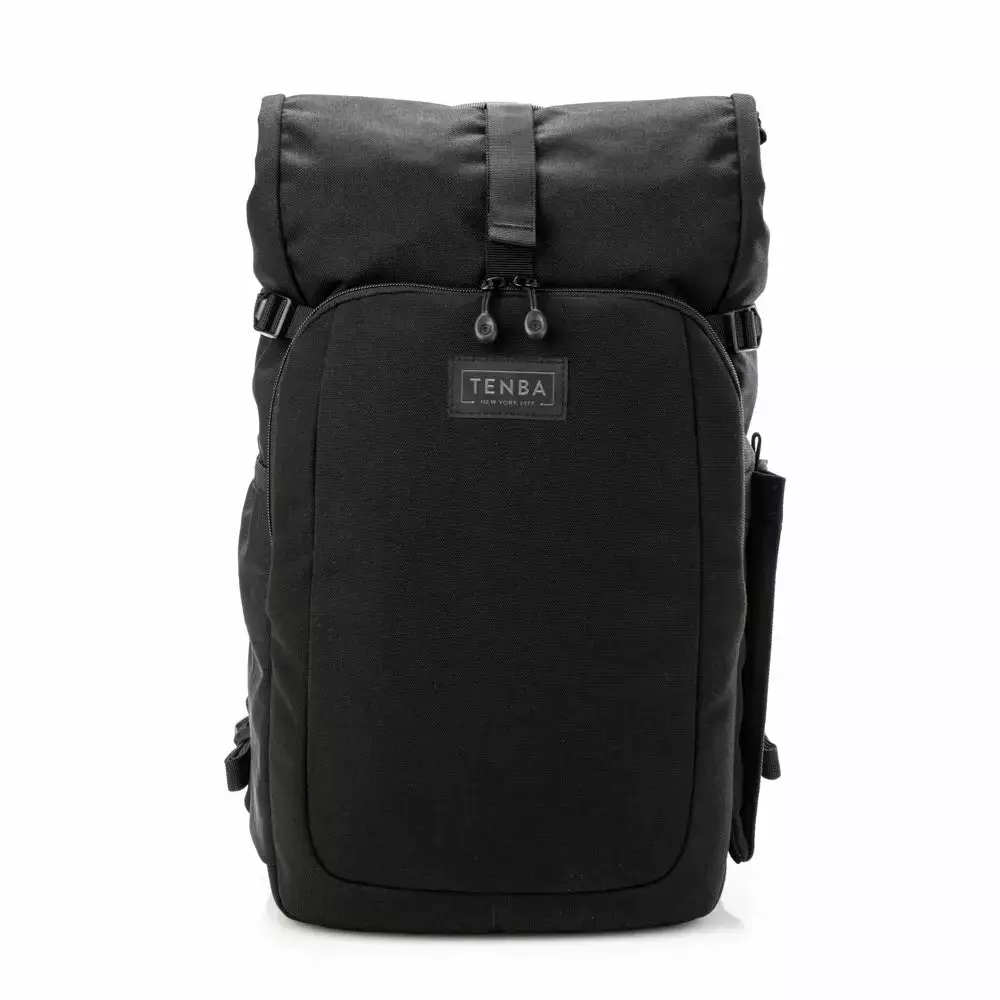
Tenba Fulton V2 14L Backpack
A practical and affordable travel camera backpack that fits all the essentials. It comfortably holds a camera body, multiple lenses, and even a drone if needed. The rear-access compartment adds an extra layer of security, which is especially reassuring when travelling.
The roll-top design gives you extra storage space, and there’s room for a laptop and other daily items. I also love the side pockets—they’re perfect for a water bottle or tripod.
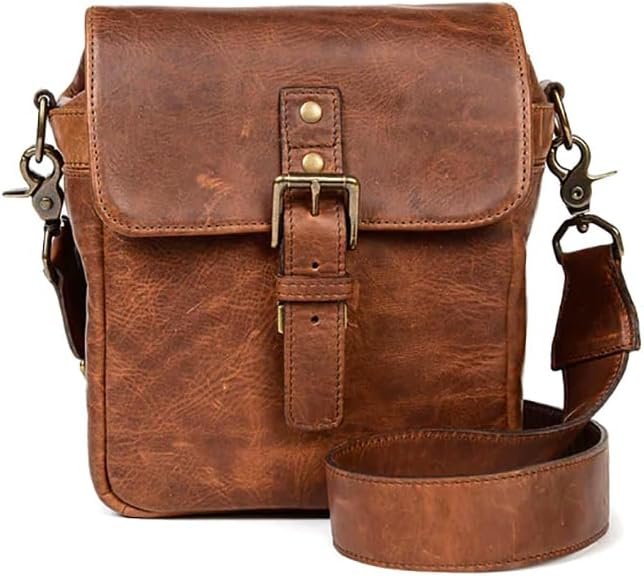
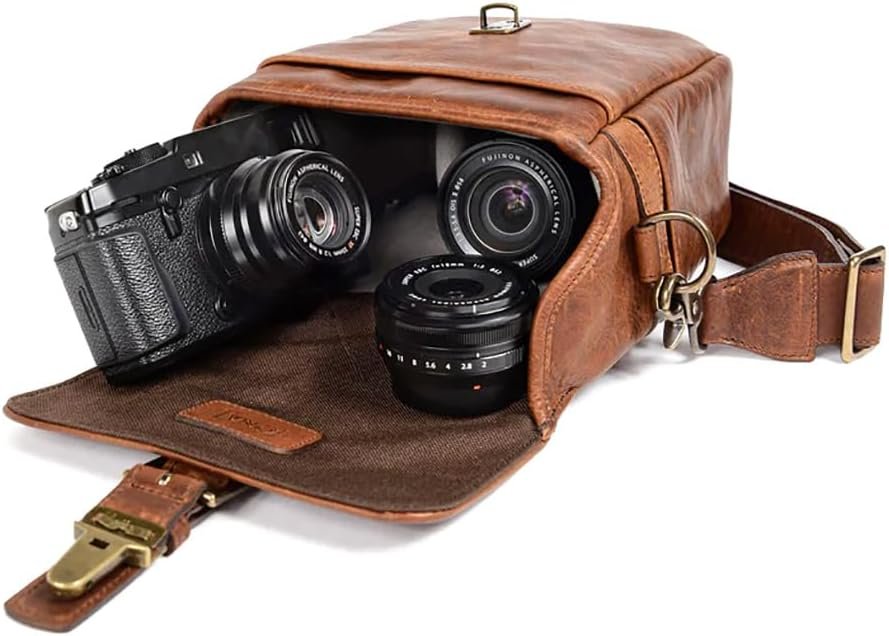
Camera Messenger Bag (Casual)
A great low-profile option when you don’t want to draw attention. It fits my Sony A6400 with a lens attached and is perfect for lighter days or city exploring. It’s compact, functional, and still offers enough protection for your gear.
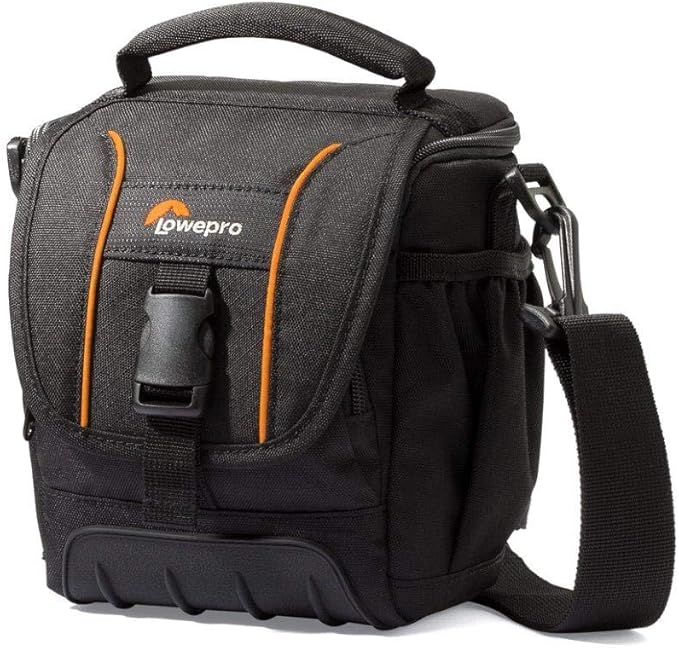
Lowepro Adventura DSLR Bag
Ideal if you prefer a more structured bag with dedicated compartments. It’s great for organising your camera body and lenses, and everything feels secure and easy to access.
Hard Carry Case
Perfect for minimal setups. I use this hard case when I’m only bringing my camera body and a prime lens. The hard exterior offers extra protection against bumps and scratches, and it fits easily into a day bag.

How I Edit My Content
Your editing setup doesn’t need to be overly complicated—but having the right tools can make your workflow smoother and a lot more enjoyable. For me, it’s about finding a balance between performance and portability, especially when I’m constantly moving between home and travel.
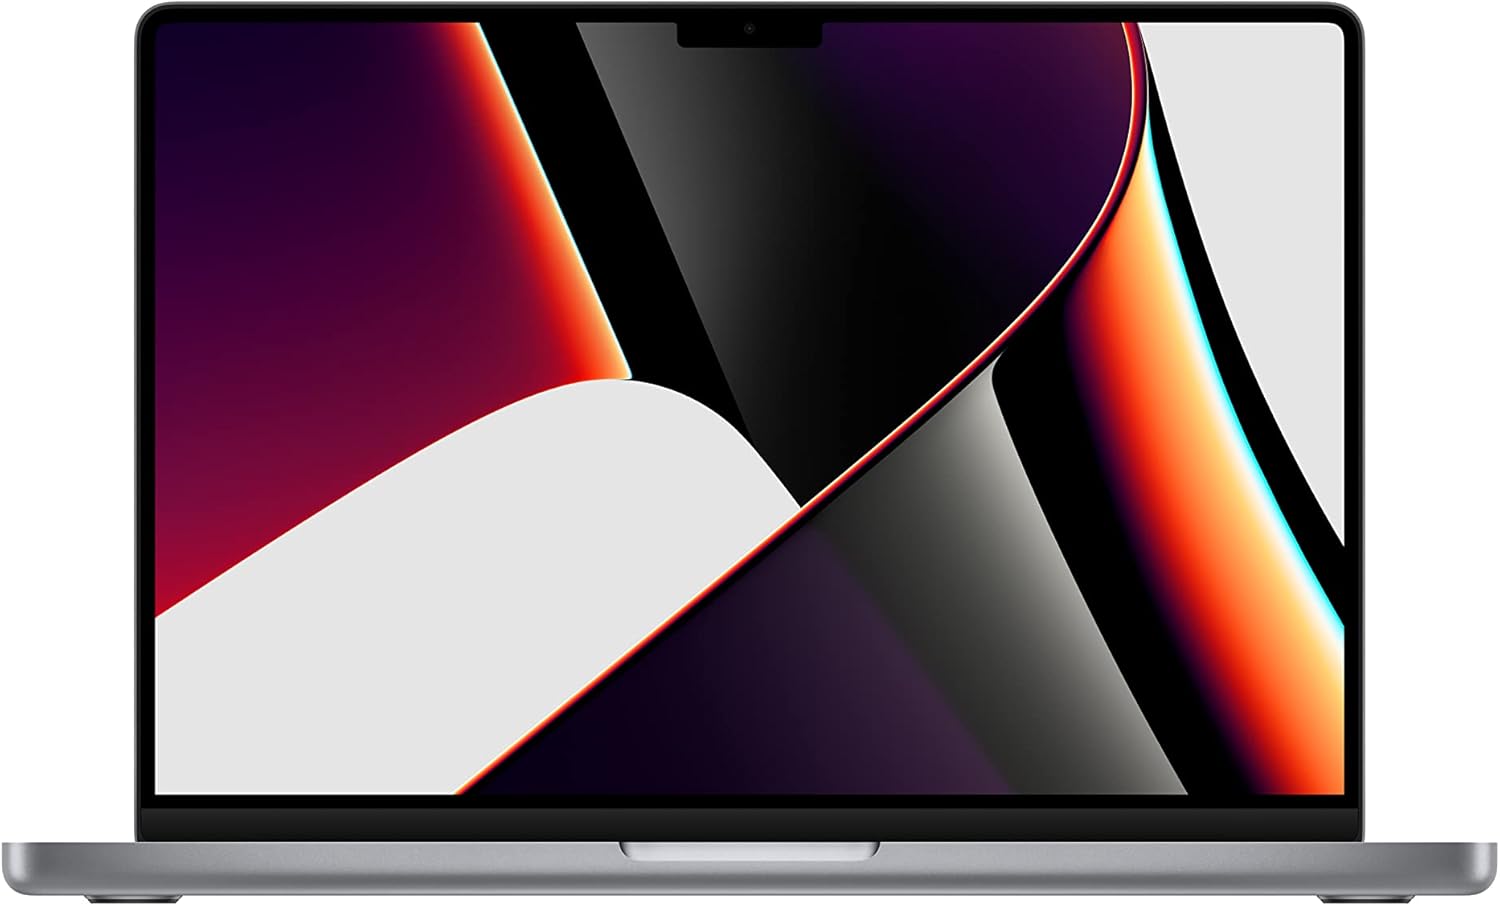
Best Laptop for Editing – MacBook 14″
This is my main editing device when I’m at home or working on more detailed projects. It’s fast, reliable, and handles large photo and video files with ease, which is especially important when you’re shooting high-resolution content.
The larger screen also makes a noticeable difference when editing—it’s easier to fine-tune colours, adjust details, and work across multiple programs like Lightroom and Photoshop without feeling limited. If you’re doing more intensive editing or longer sessions, having a laptop like this can really streamline your workflow.
Here’s a sneak peek of how I edit my photos in Lightroom.
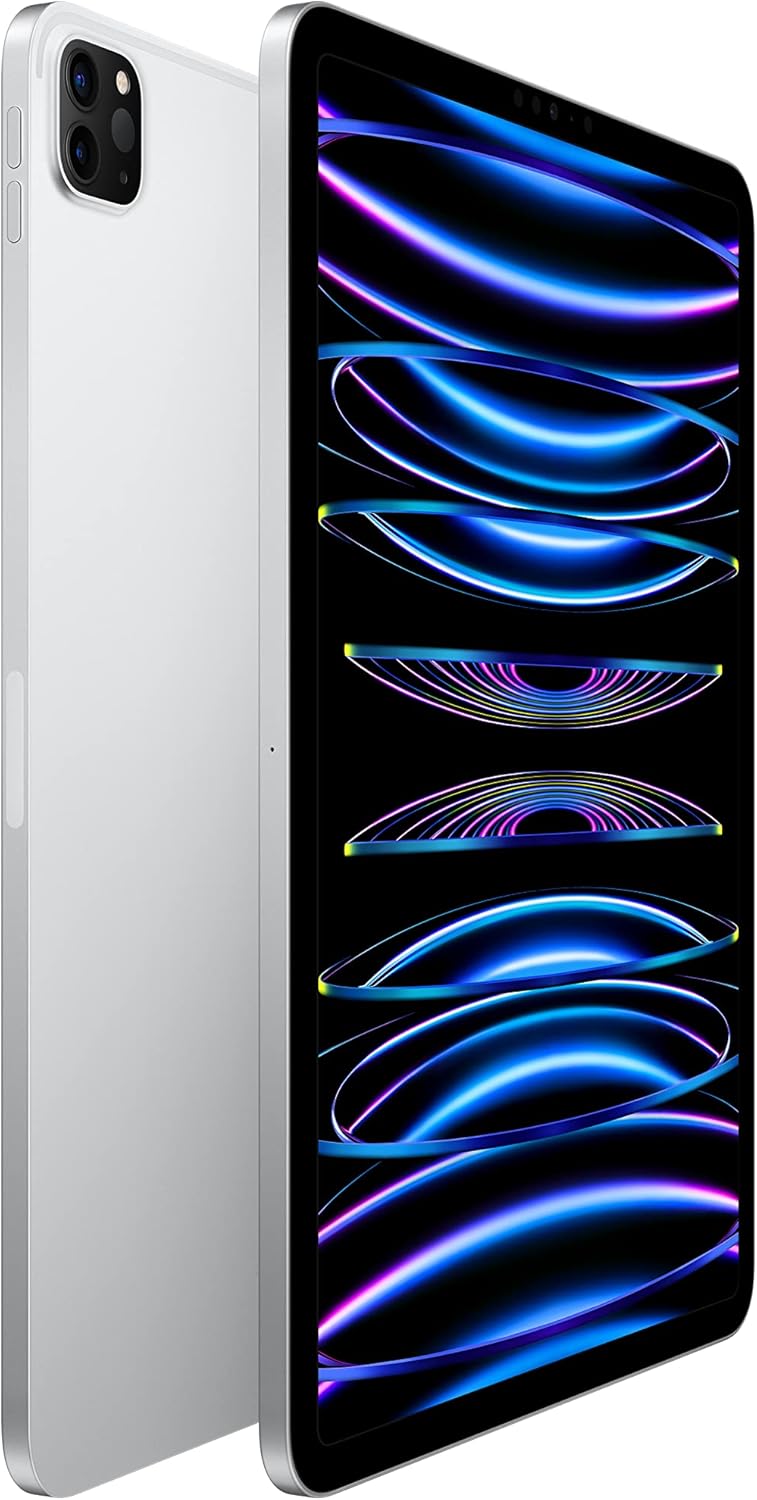
Best Tablet for Editing – iPad 11 Pro (4th Generation)
When I’m travelling, I usually switch to my iPad to keep things light and simple. It’s powerful enough for most editing tasks and much easier to carry around compared to a laptop.
I mainly use it for quick photo edits, sorting through images, and creating content on the go. Apps like Lightroom Mobile and CapCut work really well on the iPad, and the touch interface actually makes the editing process feel more intuitive—especially for adjusting exposure, colours, and cropping. It’s perfect for keeping up with content while travelling without needing a full desk setup.
Other Resources You Might Find Helpful
- How to Edit Like a Pro Using Fujifilm Lightroom Presets
- How to Take Photos of Yourself as a Solo Traveller
- Step-by-Step Process to Creating Content for Your Travels
Found this helpful? 👇🏼
Found this free guide helpful? Support my work so I can produce more free content for you.
📌 Like this post? Pin ‘Best Photography Gear‘ for later.

Leave a Reply
You must be logged in to post a comment.